
Last updated October 30, 2026
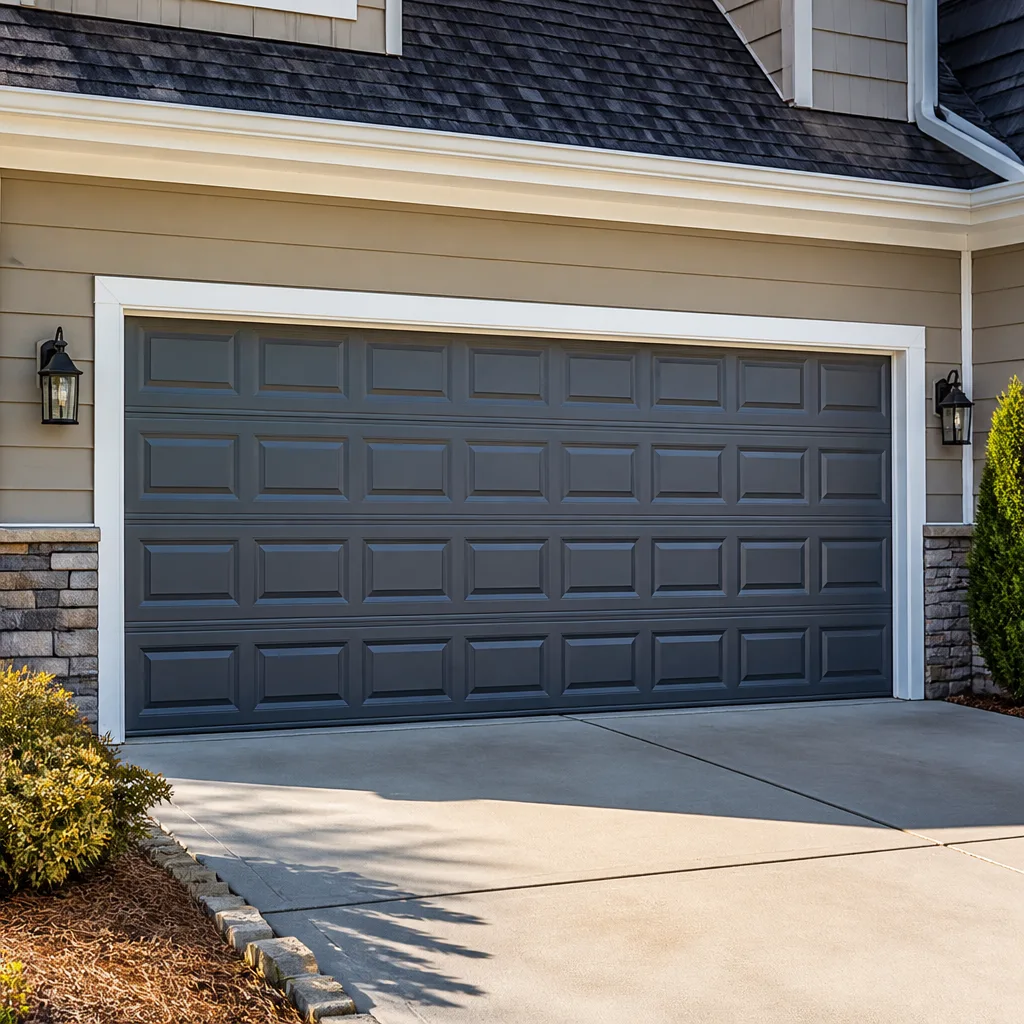 Raised-panel steel
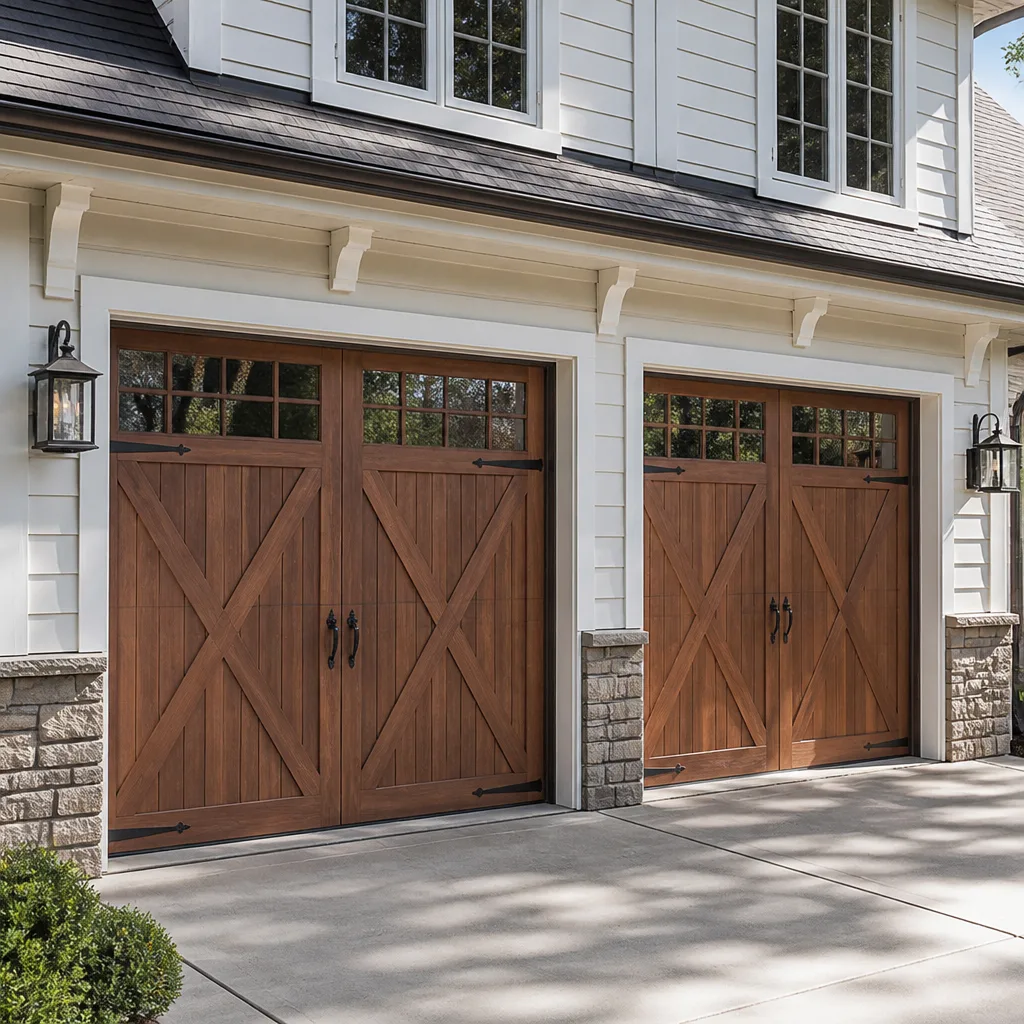 Carriage house
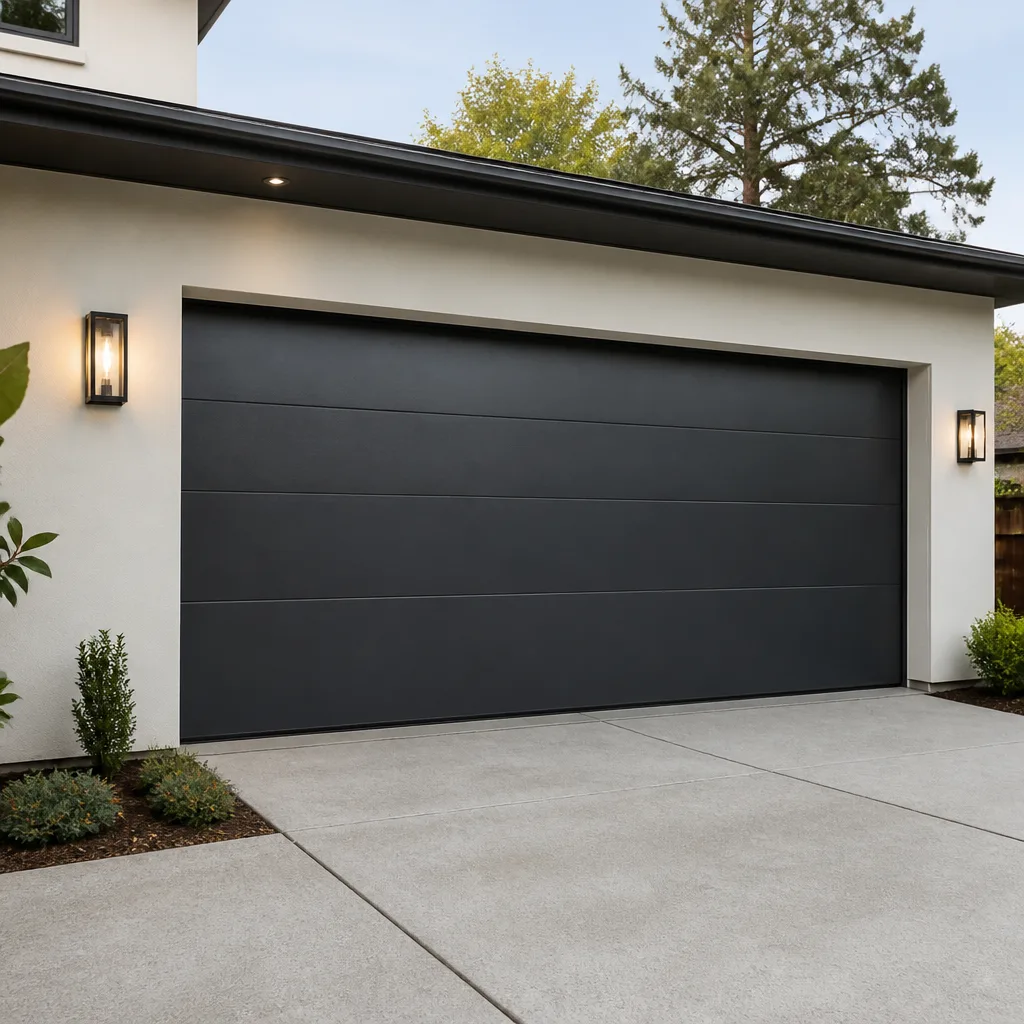 Modern flush
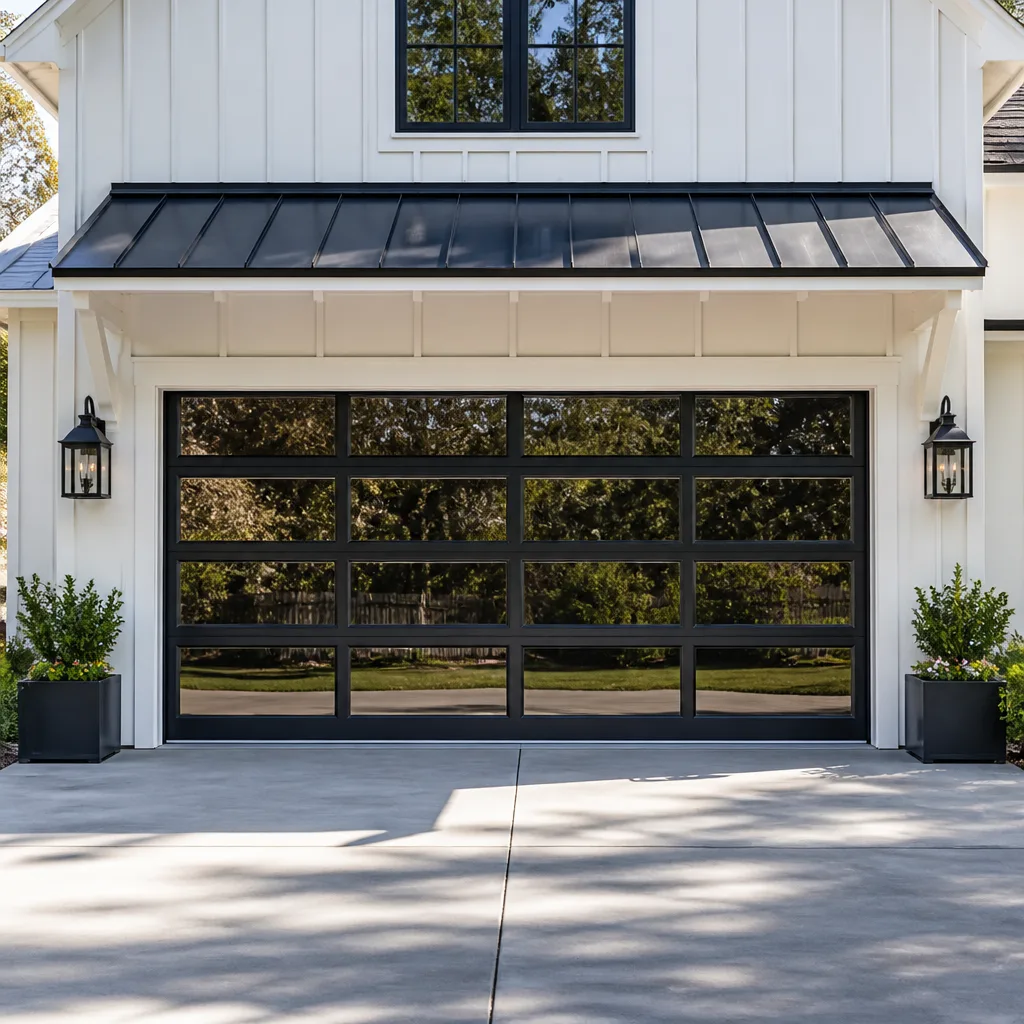 Full-view glass
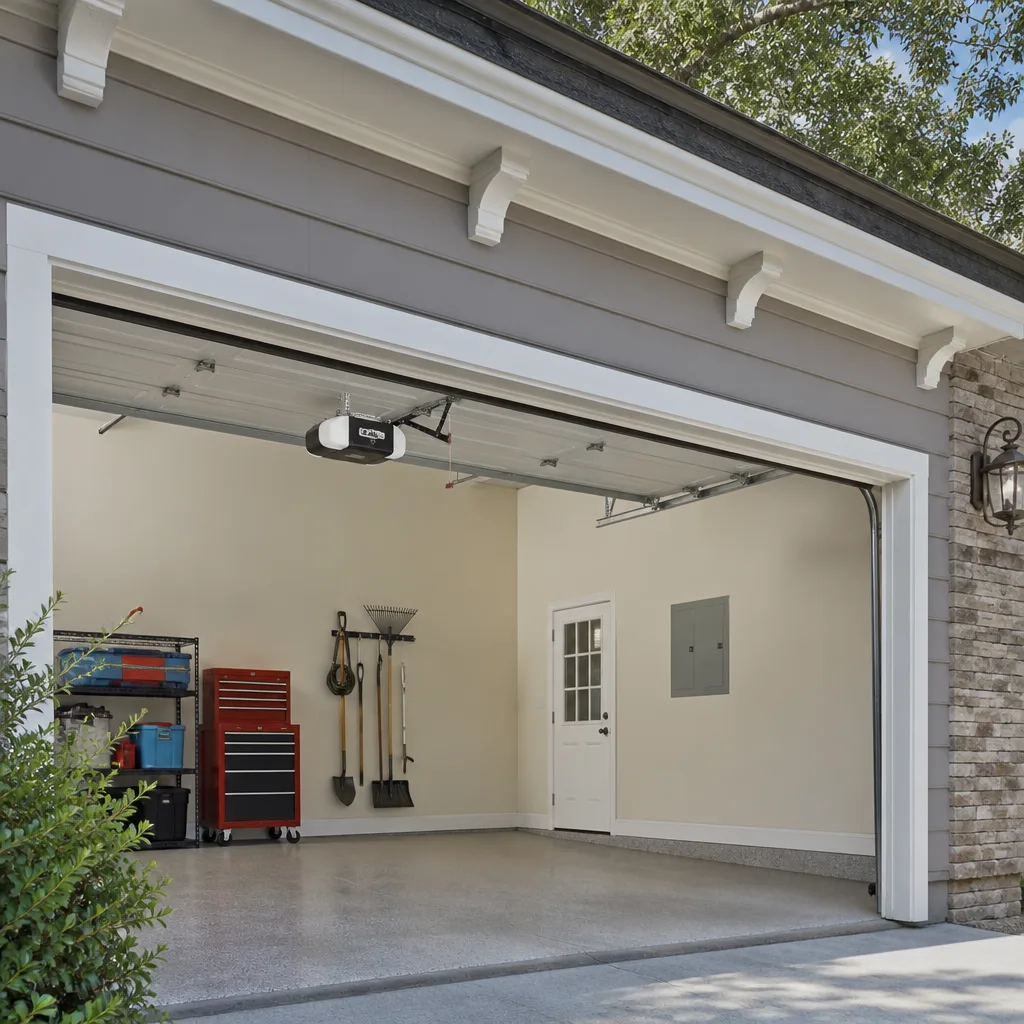 LiftMaster openers
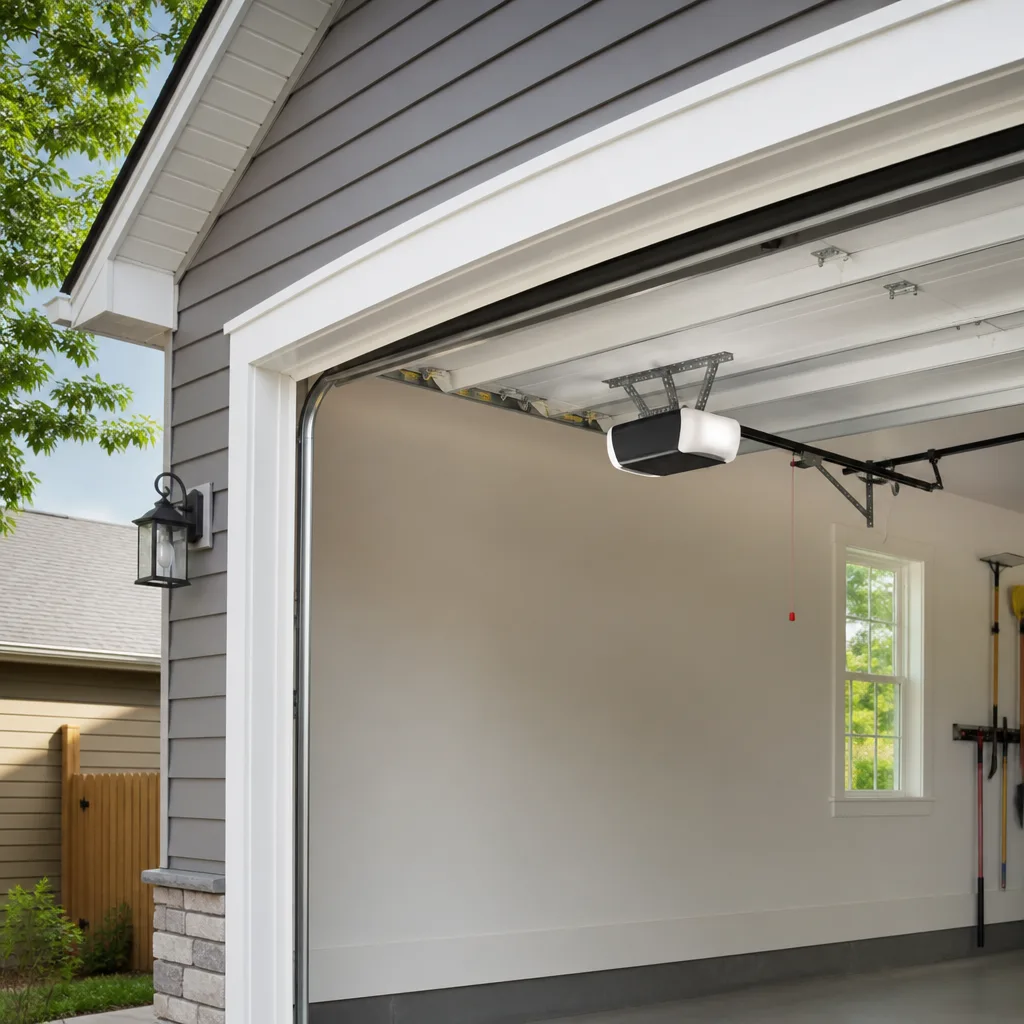 Chamberlain openers
Full 25-point door and opener safety check with every visit - springs, cables, rollers, tracks, and your LiftMaster or Chamberlain opener included
You get a price before we start. It does not change when the truck arrives.
Get your free estimateDIY vs Professional Garage Door: The Carlsbad Homeowner’s Decision Guide
Every year, American emergency rooms treat roughly 20,000 garage door injuries, and the majority share one common thread: torsion springs. These tightly wound coils of steel don’t discriminate between a careless hand and a careful one. They release stored kinetic energy at the exact moment a bolt slips or a winding bar loses its seat, and the result is often a shattered wrist, a broken jaw, or worse. But here’s what most guides won’t tell you: the line between a safe homeowner task and a genuinely dangerous one is not your skill level, your confidence, or how many YouTube videos you’ve watched. It’s mechanical physics. Some tasks are forgiving by design. Others are not. This guide walks through every major garage door task, one by one, and tells you truthfully which side of the line it falls on, how much it costs in Carlsbad (see our Garage Door Cost Breakdown: The Carlsbad Homeowner’s Reference for 2026), which tasks trigger California permit requirements, and what to do if you’ve already started a repair and realized you’re in over your head.
Styles & brands we work with
Quick Answer
Most homeowners can safely handle lubrication, sensor realignment, remote reprogramming, and bottom seal replacement as DIY tasks, but should never attempt spring repair, cable replacement, or full door installation. In Carlsbad specifically, any work involving structural modification or door replacement over a certain scope can trigger permit requirements that affect resale disclosure. When in doubt about the gray zone tasks (opener swaps, panel replacement), get a free professional estimate first so the decision is based on real numbers, not guesswork.
Table of Contents
- The Task-by-Task Decision Matrix
- The Mechanics of Danger: Why Springs and Cables Are Different
- Carlsbad-Specific Permit and Code Requirements
- The Cost Comparison: When DIY Actually Saves Money (And When It Doesn’t)
- Tools and Skill Assessment for the DIY-Appropriate Tasks
- What to Disclose When You’ve Already Attempted a Repair
- Brand-Specific Considerations: LiftMaster, Craftsman, Raynor, Wayne Dalton
- Common Mistakes to Avoid
- When to Call a Professional
- Frequently Asked Questions
- The Bottom Line
The Task-by-Task Decision Matrix
Let’s cut through the ambiguity. Below is the decision matrix we use when homeowners in Carlsbad ask us whether they should tackle something themselves. It’s organized by task, with the mechanical reason for each classification, so you understand why something is safe or unsafe, not just that it is.
| Task | DIY or Pro? | Why | Typical Carlsbad Cost (DIY) | Typical Carlsbad Cost (Pro) |
|---|---|---|---|---|
| Track and hinge lubrication | DIY-safe | No stored energy, low physical risk, immediate feedback if done wrong | $8-$15 | $75-$120 |
| Photo-eye sensor realignment | DIY-safe | Low voltage, bracket adjustments only, no spring interaction | $0 | $95-$140 |
| Remote control reprogramming | DIY-safe | Follow manufacturer sequence; no mechanical exposure | $0 | $65-$90 |
| Bottom weather seal replacement | DIY-safe with caveats | Low risk if door is balanced and rollers stay in track; requires lifting a partially open door | $15-$30 | $110-$160 |
| Opener motor/unit replacement | Gray zone | Disconnect springs first; new unit requires precise force settings and safety reverse testing | $180-$350 (parts only) | $450-$700 installed |
| Single panel replacement | Gray zone | Weight and alignment complexity; door may need rebalancing after | $200-$400 (panel only) | $350-$650 installed |
| Roller replacement | Pro-only on most doors | Bottom roller brackets are attached to cable tension; removing them without releasing cables can cause cable whip | N/A | $120-$200 |
| Extension spring replacement | Pro-only | Springs under tension even when door is down; failure during removal causes projectile risk | N/A | $180-$300 |
| Torsion spring replacement | Pro-only, no exceptions | 200+ pounds of stored torque; winding bars can become lethal projectiles | N/A | $250-$450 per spring |
| Cable replacement (any type) | Pro-only | Cables route through brackets under spring tension; frayed cables indicate spring imbalance | N/A | $150-$250 |
| Full door installation | Pro-only, permit often required | Structural attachment, wind load requirements, spring tensioning, balance calibration | N/A | $1,200-$3,500+ depending on door |
We work on what you already have. That’s the philosophy behind this matrix. We’re not trying to convince you that every task requires a professional. If lubrication is all your door needs, a $10 can of white lithium grease is genuinely all it takes. The matrix exists because the difference between a $10 task and a $10,000 injury is sometimes just six inches of steel rod.
The Mechanics of Danger: Why Springs and Cables Are Different
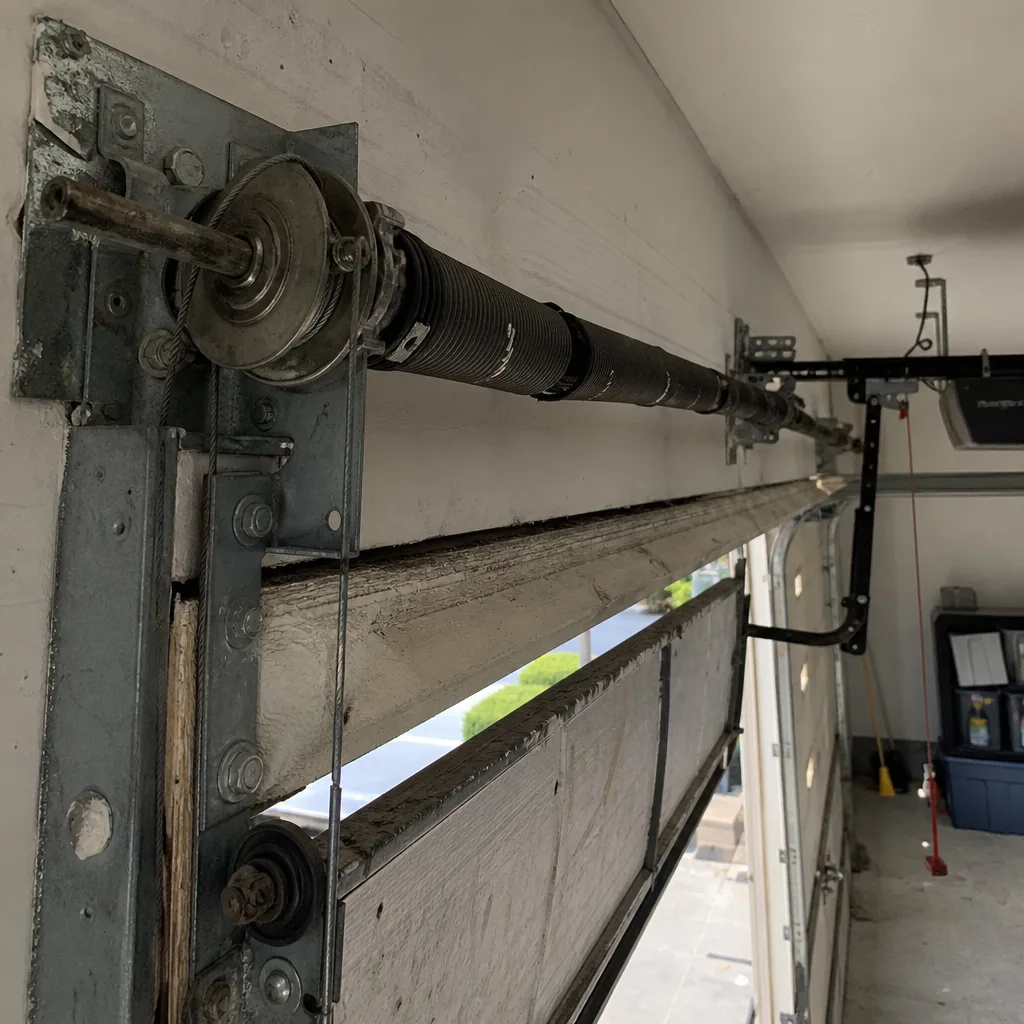
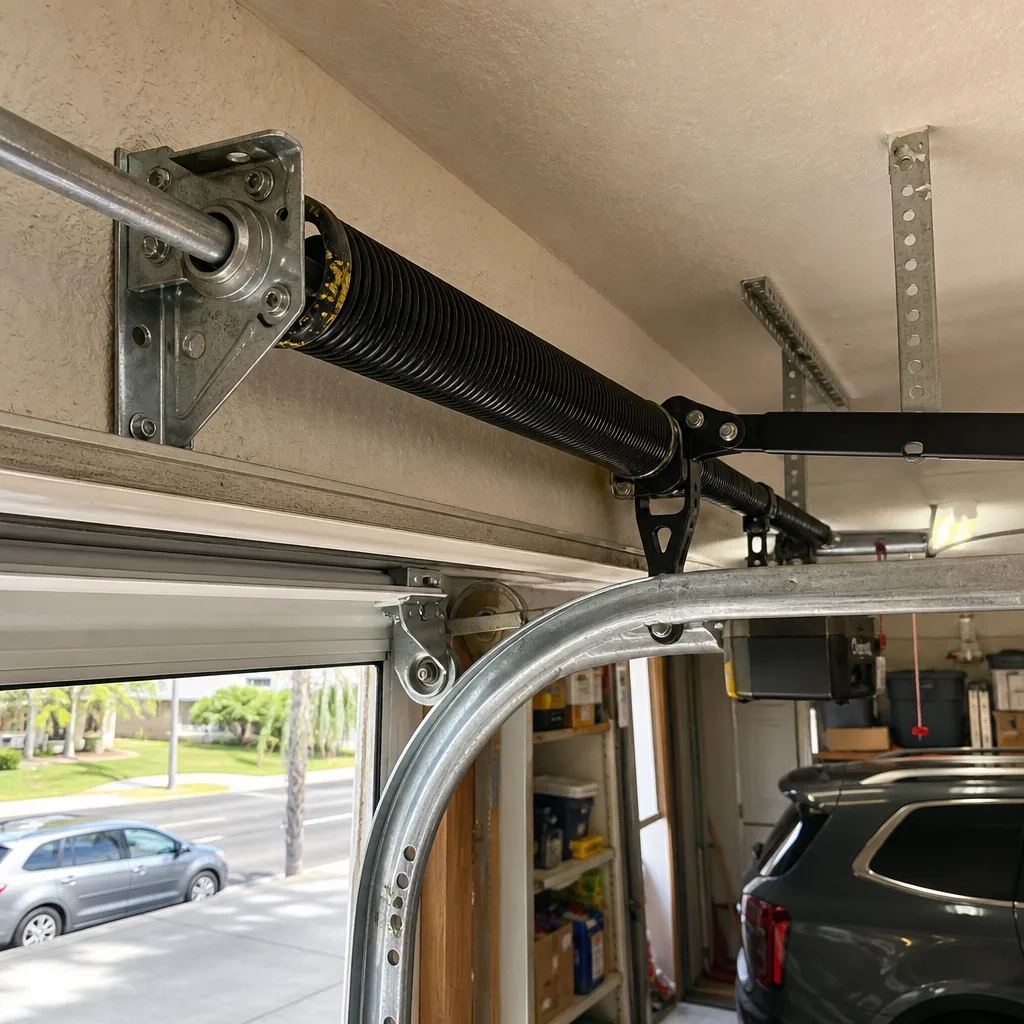
Here’s the thing about garage door springs that most homeowners never fully grasp until it’s explained: your garage door opener motor is not what lifts the door. The motor is a facilitator. The springs do the actual lifting. A standard 16×7 steel garage door weighs between 150 and 250 pounds. The torsion spring mounted above the door stores enough mechanical energy to lift that weight every time the door opens. When a technician winds a new spring, they’re placing anywhere from 7 to 8 turns of torque on a steel coil that’s under several hundred pounds of pressure. If that coil were to snap while you’re standing next to it, the released energy doesn’t give you a warning. It just breaks.
This isn’t theoretical. In our experience working on garage doors across Carlsbad, from La Costa to Bressi Ranch, we’ve seen torsion springs that snapped and embedded themselves in drywall, dented car hoods, and in one case, shattered a window six feet away. None of these homeowners were being reckless. They were trying to adjust a spring with a pair of vice grips and a screwdriver, not realizing that the spring itself was about to fail.
Cables are dangerous for a different reason. Extension springs (the older style that runs horizontally along the tracks) are connected to cables that route through pulleys. Those cables are under constant tension, even when the door is closed. If a cable snaps while the door is down, it whips with enough force to cut skin or damage whatever is in its path. If you’re holding a roller bracket when that cable lets go, you’ll lose part of a finger before you can react. This is why we classify cable replacement as pro-only across the board, regardless of your mechanical aptitude.
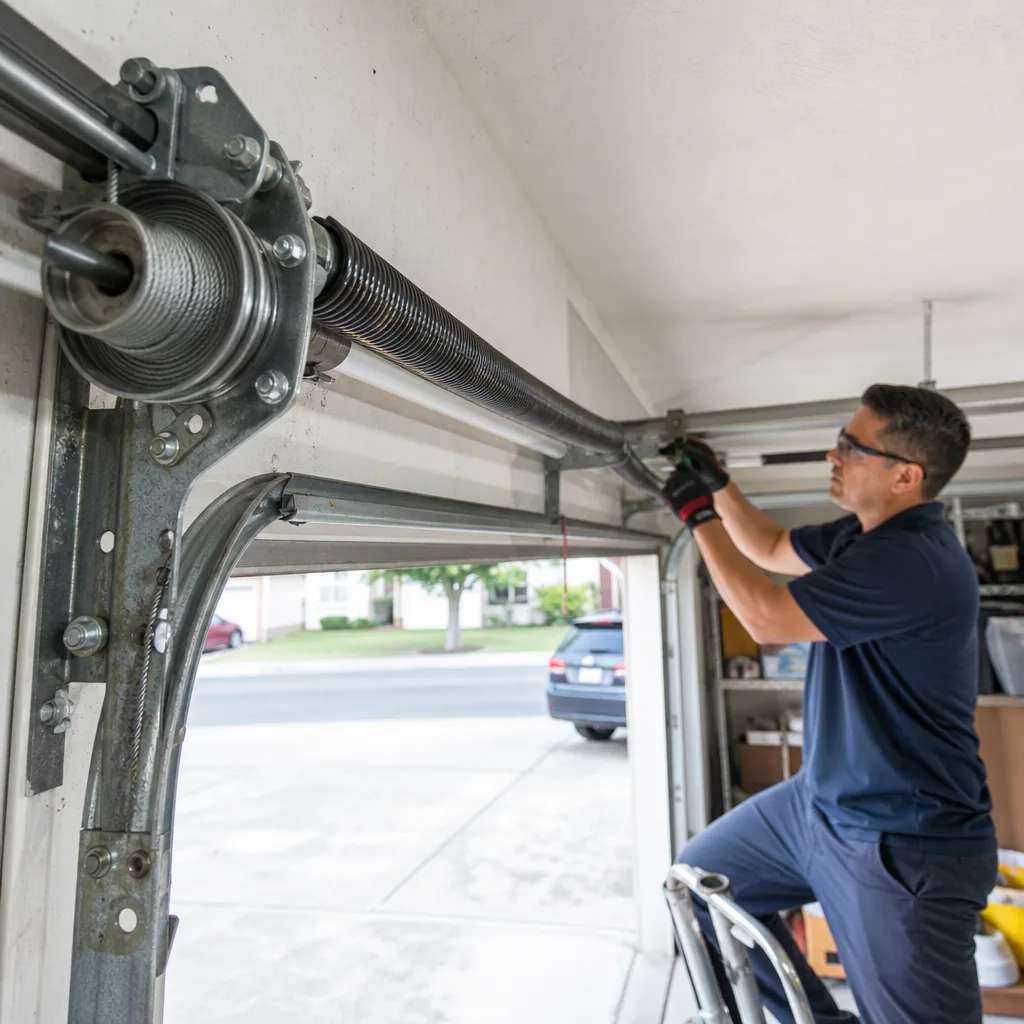
The takeaway: professional garage door technicians in Carlsbad wear safety glasses and use purpose-built winding bars for a reason. It’s not theater. It’s the difference between a controlled release of energy and an uncontrolled one.
For context on the full scope of what professional repair involves, including spring and cable work, see our Garage Door Repair in Carlsbad page.
Carlsbad-Specific Permit and Code Requirements
California has a split personality when it comes to garage door permits, and it catches a lot of Carlsbad homeowners off guard—our Garage Door Permits, Codes & Inspections in CA: What You Need to Know breaks this down in full. Here’s the rule of thumb: repairs are generally exempt, replacements often are not.
If you’re replacing a broken spring, swapping out a frayed cable, realigning a track, or replacing an opener motor, you don’t need a permit. Those are classified as maintenance and repair under the California Residential Code, and the city of Carlsbad follows that classification. You can do that work, or hire someone to do it, without pulling paperwork.
However, if you’re replacing the entire door assembly, including the panels, the rails, and the header bracket, the city may require a permit depending on the scope. The trigger is usually structural: if the new door’s footprint, weight, or mounting configuration differs from the original, the Building Division wants to verify that the header can handle the load. In practice, most full door replacements in Carlsbad’s older neighborhoods, particularly in the Village and along Carlsbad Village Drive where homes date to the 1960s and 1970s, should be checked against current code requirements.
Here’s the part most DIY guides miss: unpermitted structural work creates disclosure liability at resale. California’s seller disclosure requirements (TDS) specifically ask about work done without permits. If you install a new garage door without a permit and the structural attachment later fails, or the next owner’s home inspector flags it, you could be looking at a disclosure correction, a retroactive permit fee, and in some cases, a lawsuit. The disclosure question isn’t optional. It’s a checkbox on a legally binding form.
The California Building Code also sets minimum wind load standards for garage doors, which matters in Carlsbad because the coastal corridor from Tamarack to Ponto gets consistent onshore wind. A door that meets the minimum standard is a door that stays on its track when a winter storm pushes 40 mph gusts through the canyon passes. A door that doesn’t meet the standard is a liability, and if it fails and damages property, your homeowner’s insurance may ask whether the installation was permitted and inspected.
This is one reason we recommend professional installation for full door replacements. A licensed installer knows which Carlsbad projects need a permit, which ones don’t, and will pull the right paperwork when required. See Garage Door Installation in Carlsbad for more on what’s involved.
The Cost Comparison: When DIY Actually Saves Money (And When It Doesn’t)
Let’s be honest about money, because that’s the actual decision driver for most homeowners. The DIY-vs-pro calculation isn’t just about the sticker price of parts. It’s about the full cost of the outcome, including the times you get it wrong.
Where DIY genuinely saves money:
- Lubrication. A can of white lithium grease costs $8-$12 at any hardware store in Carlsbad. A service call to do the same thing runs $75-$120. This is an easy win.
- Sensor realignment. The photo-eye sensors at the base of the door tracks occasionally get knocked out of alignment by a bike, a trash can, or a kid. Realigning them takes 5 minutes with a screwdriver and a level. Professional cost: $95-$140. DIY cost: $0.
- Remote programming. Most modern openers, including LiftMaster and Chamberlain models, have a “learn” button on the motor unit that walks you through pairing a new remote in under 2 minutes. If you can follow a 4-step sequence on a YouTube video, you can do this.
- Bottom seal replacement. The rubber strip on the bottom of the door is a consumable. It degrades in the Carlsbad sun and salt air. A replacement seal costs $15-$30 at a hardware store and installs with a flathead screwdriver. This is genuinely DIY-friendly.
Where DIY looks cheaper but costs more:
- Opener motor replacement. A new LiftMaster or Craftsman opener runs $180-$350 at retail. Professional installation adds $150-$250. The DIY savings look substantial. But here’s the catch: a new opener must be calibrated for force (how much pressure the motor applies before reversing) and tested for the safety reverse function (the beam that makes the door stop and reverse when something crosses it). Get either setting wrong, and you have a door that either doesn’t close fully or, worse, closes on a person or car. Professional installation includes calibration, testing, and a labor warranty. The $150-$250 you save going DIY can evaporate if you need a technician to fix your calibration, which can cost $100-$150 anyway.
- Single panel replacement. If you back into your garage door (which happens more often than anyone admits, especially in Carlsbad’s tighter 1960s-era garages), you might think replacing one panel is a straightforward swap. It isn’t. Panels are interlocked with hinges and aligned with the track. A misaligned replacement panel binds the door, strains the springs, and can throw the entire door out of balance. The panel itself costs $200-$400. Professional installation runs $350-$650 total because the tech rebalances the door after the panel goes in. If you DIY and the door binds, you may end up paying for both the panel and a service call to undo your work.
The honest math: DIY saves real money on low-risk, low-skill, consumable tasks. It saves little or nothing on structural or mechanical tasks because the cost of failure, in dollars and time, erases the parts savings. And remember: any price we quote is agreed upon before work starts. If you’re weighing DIY against professional repair and want to know the exact professional number, call (833) 476-2475 for a free estimate. No surprises, no invoice creep.
Tools and Skill Assessment for the DIY-Appropriate Tasks
Before you grab a toolbox, let’s do a quick reality check on what these DIY tasks actually require. This is not about gatekeeping. It’s about making sure you don’t start a 10-minute job and turn it into a 3-hour ordeal with a half-disassembled door blocking your car.
Lubrication: Tools and skill level.
- Required tools: can of white lithium grease or silicone spray, step stool, rag.
- Skill level: beginner. No mechanical knowledge required.
- Time commitment: 15 minutes.
- Steps: Apply lubricant to the roller bearings, hinges, and the torsion spring coil. Wipe away excess. Test the door for noise reduction.
- Safety note: never attempt to lubricate by reaching into the spring assembly while the door is moving. Door down, opener unplugged, ladder or step stool, and you’re done.
Sensor realignment: Tools and skill level.
- Required tools: Phillips screwdriver, small level (or a phone level app).
- Skill level: beginner to intermediate.
- Time commitment: 10-20 minutes.
- Steps: Loosen the mounting bracket screws, level the sensor body, retighten, confirm the indicator light is steady (not blinking), test the door.
- Safety note: sensors are low voltage. No electrical hazard. The only risk is dropping the sensor while you’re handling it.
Remote reprogramming: Tools and skill level.
- Required tools: none, just the remote and access to the motor unit.
- Skill level: beginner.
- Time commitment: 2-5 minutes.
- Steps: Locate the learn button on the motor unit (varies by brand: LiftMaster and Chamberlain use a yellow or purple button; Genie units have a different sequence; Craftsman units are similar to Chamberlain). Press and release, then press the remote button within 30 seconds. Test operation.
- Safety note: none. This is an electronic task with zero mechanical exposure.
Bottom seal replacement: Tools and skill level.
- Required tools: flathead screwdriver, utility knife, replacement seal (measure the width of the old one first), pliers.
- Skill level: intermediate. The awkward part is the seal channel is often corroded or packed with dirt after years in coastal air.
- Time commitment: 30-60 minutes, especially if the old seal is brittle and breaks apart during removal.
- Steps: Pull out the old seal from the channel (cut it if necessary), clean the channel, lubricate the new seal with soapy water, slide it through, trim to length, test the door seal.
- Safety note: this task involves sliding the door partially open to access the bottom edge. If your springs are old or unbalanced, have a professional do this. A door that drops because of broken springs will crush whatever is underneath it.
If any of these tasks turns out to be more than you want to handle, that’s a legitimate moment to stop. Tradewind Garage Door Repair home services repairs across Carlsbad, and there’s no shame in calling for help after attempting the safe stuff. The unsafe stuff shouldn’t be attempted in the first place.
What to Disclose When You’ve Already Attempted a Repair
Sometimes a homeowner starts a job thinking it’s simple, gets partway in, and realizes the problem is bigger than expected. This happens constantly. We get calls from Carlsbad residents who’ve removed a panel, disconnected an opener, or half-finished a sensor job, and now the door won’t close and their car is stuck inside. There’s no judgment in that. But there is a right way and a wrong way to describe what happened when you call for help, and it affects how quickly and accurately the technician can diagnose the problem.
Here’s what matters to the technician, in order of importance:
- What you actually did. Be specific. “I removed the bottom panel” is useful. “I tried to fix it and now it’s worse” is not. The technician needs to know which components you touched, because that’s where the problem likely originates now.
- What tools you used. If you used a socket wrench on the roller brackets, say so. If you used vice grips on the spring, say so immediately. The tech needs to know what may have been bent, stripped, or put under incorrect tension.
- Whether the door moved after your attempt. Did it open and close normally for a while before failing? Did it fail on the first try? Did it fall suddenly? This tells the tech whether the springs are intact, whether the cables are still seated, and whether the door is still on its tracks.
- Any sounds you heard. A loud bang means a spring snapped. Grinding means the opener gear is stripping. A slow grind then a stop is a different failure than a sudden snap. Describe the sound as precisely as you can.
- What the door was doing before you started. This is the most under-discussed piece of information. If the door was sticking, squealing, or reversing randomly before you touched anything, that’s a clue about a pre-existing condition that’s separate from whatever you just did. Don’t hide it. The repair is faster if the technician knows the full history.
One more thing: it’s genuinely okay to say “I tried, I made it worse, here’s exactly what happened.” A good technician hears that and moves straight to diagnosis. What slows things down is a homeowner who describes the problem vaguely because they’re embarrassed. Your honesty at the top of the call saves you money at the bottom of the invoice.
If you’ve partially disassembled something and you’re not sure how to describe it, call (833) 476-2475 and explain what you did. The technician will ask the right questions.
Brand-Specific Considerations: LiftMaster, Craftsman, Raynor, Wayne Dalton
One of the most frustrating things a homeowner can hear is “we don’t work on that brand.” It’s surprisingly common in the garage door industry. Some shops specialize in one manufacturer and won’t touch the others, which means if you have a Wayne Dalton door and the shop only does Clopay, you’re making another phone call. We take the opposite approach. Eight brands, one call. We work on what you already have.
LiftMaster openers are the most common units in Carlsbad, especially in the newer developments around Bressi Ranch and La Costa Valley. LiftMaster’s security systems, including MyQ and Security+ 2.0, use rolling code technology that changes the access code every time the remote is used. That’s good for security, but it complicates reprogramming if you don’t know the sequence. Most LiftMaster units have a yellow or purple learn button on the motor head. If your opener is flashing an error code, the number of blinks corresponds to a specific fault in the owner’s manual. This is genuinely useful diagnostic information to have when you call a technician.
Craftsman occupies a huge share of the market in the older Carlsbad housing stock, particularly homes built between 1990 and 2010. Craftsman openers are generally reliable, but the gear and sprocket assembly that drives the chain wears out over 10-15 years of use. When it fails, the motor runs but the chain doesn’t move, producing a grinding noise that’s distinctive once you’ve heard it. The fix is a gear replacement, not a whole new opener, and the repair is well within a technician’s scope. Your Craftsman opener, handled right, can last another decade.
Raynor builds doors that are popular in commercial and some high-end residential applications in Carlsbad. Raynor door designs emphasize reinforcement and durability, which is good, but it also means Raynor panels are heavier than comparable models from other manufacturers, which means the springs are under proportionally higher tension. If you have a Raynor door, and especially a Raynor door with a broken spring, do not attempt a DIY spring replacement. The extra weight changes the spring calculation.
Wayne Dalton is known for a distinctive design: the TorqueMaster spring system. Unlike standard exposed torsion springs, Wayne Dalton TorqueMaster springs are housed inside a tube, which gives the door a cleaner look but requires proprietary tools and knowledge to service correctly. If your Wayne Dalton door has this system, a technician who’s only ever worked on standard torsion systems may misdiagnose the spring as fine when it’s actually broken inside the tube. Our technicians are familiar with the TorqueMaster system and the standard exposed spring systems across all major brands.
The point here isn’t to impress you with brand trivia. It’s to make clear that when you call a repair company, you should ask whether they work on your specific door or opener. Many don’t. We do, across all eight brands.
Common Mistakes to Avoid
- Using WD-40 on rollers and hinges. WD-40 is a solvent, not a lubricant. It breaks down existing grease and leaves metal surfaces drier than before. Use white lithium grease or silicone spray instead. In Carlsbad’s coastal climate, where salt air accelerates corrosion, using the wrong product speeds up the wear cycle.
- Adjusting the spring yourself “just a little.” There’s no such thing as a little spring adjustment. A quarter-turn on a torsion spring is enough to change the balance of the door and, if the spring fails during adjustment, the winding bars become projectiles.
- Ignoring a frayed cable. A cable that’s starting to unravel is a cable that’s about to fail. When it does, it can snap without warning. If you see fraying on the cable near the bottom bracket, stop using the door and call for service. This is not a wait-and-see situation.
- Replacing an opener without testing the safety reverse. The safety reverse function (the beam across the door opening) is the difference between a door that stops when a child walks under it and a door that doesn’t. After any DIY opener work, test it. If it fails, don’t use the door.
- Trying to save a buck on a spring by using a used or incorrectly rated spring. Torsion springs are color-coded for wire gauge and weight rating. Using a spring rated for a 90-pound door on a 180-pound door is a fast track to spring failure. The savings of a $20 used spring vanish when the spring breaks and you need a full replacement anyway.
- Assuming a permit isn’t required for a full door replacement. This is the most expensive mistake on the list because it surfaces at resale, not at installation. If you’re replacing the entire door in Carlsbad, check with the city’s Building Division first. If a permit is required and you skip it, the disclosure liability follows you until you sell the house.
When to Call a Professional
Every task on this page falls into one of three buckets: safe to DIY, gray zone, and call a professional. If you’re reading this and still unsure, err on the side of the free estimate. It costs nothing to get a professional opinion, and in many cases, the estimate itself gives you information you wouldn’t have otherwise: the actual condition of the springs, the balance of the door, the health of the opener gear, and whether any pending failures are about to strand your car in the garage.
Call a professional if any of these apply: you have a torsion spring that’s visibly broken, a cable that’s fraying or detached, a door that’s suddenly heavy to lift, a door that reversed for no apparent reason and won’t stay closed, or you’ve already attempted a repair and made the problem worse. Tradewind Garage Door Repair offers free estimates in Carlsbad, and you can call (833) 476-2475 to schedule one. We’ll give you a price before any work begins, and we’ll tell you honestly if the job is small enough that you can finish it yourself.
Frequently Asked Questions
Garage door spring replacement in Carlsbad typically costs between $250 and $450 per spring, including the part and labor. Torsion springs are the more expensive type, and the final price depends on the door weight, spring rating, and whether the technician recommends replacing both springs at once. Call (833) 476-2475 for an exact quote, and the estimate is free.
You can, but you probably shouldn’t. A single panel replacement requires removing the interlocking hinge assembly, lifting a section of door that weighs 40 to 80 pounds, and realigning the panel within the track so the door doesn’t bind. If the door binds or the springs get unbalanced, you’re looking at a service call on top of the panel cost. The parts savings rarely justify the risk.
Most repairs, including spring replacement, cable replacement, opener repair, and track realignment, do not require a permit in Carlsbad. Full door replacement, especially if the new door’s weight or mounting configuration differs from the original, may require a permit and should be checked with the city’s Building Division before work begins. Unpermitted structural work creates disclosure obligations at resale.
Yes. Lubricating hinges, rollers, and the spring coil is one of the safest DIY tasks on the list, provided the door is closed, the opener is unplugged, and you use the right product. White lithium grease or silicone spray, applied to the moving parts with a step stool, takes about 15 minutes and costs less than $15 in materials.
The most common cause of intermittent opener behavior is misaligned photo-eye sensors, followed by a failing logic board, a stripped gear, or a capacitor that’s on its way out. In Carlsbad’s coastal climate, corrosion on the sensor wiring is also a frequent culprit. The exact diagnostic sequence depends on your opener brand and error code.
We service all eight of the industry’s most-installed garage door and opener brands, including LiftMaster, Chamberlain, Genie, Clopay, Amarr, Wayne Dalton, Craftsman, and Raynor. Our technicians have working knowledge of both legacy mechanical systems and modern smart-home-connected openers, and we recommend fixes based on what’s already on your garage rather than pushing a brand change. See Garage Door Opener Repair in Carlsbad for more on opener-specific work.
The Bottom Line
The DIY-vs-pro decision for garage doors is not a personality test. It’s a physics test. For more guides & resources on garage door maintenance and safety, explore our blog. Lubrication, sensor alignment, remote reprogramming, and bottom seal replacement are safe, low-cost tasks that nearly any homeowner can handle with basic tools and a little patience. Spring work, cable replacement, panel installation, and full door replacement are not. The difference isn’t talent; it’s stored mechanical energy and the consequences of getting it wrong. In Carlsbad, add permit requirements for structural work to the calculation, and the answer becomes even clearer: do the small stuff yourself if you want to save money, and call a professional for anything that involves springs, cables, or the structural integrity of the door itself.
If you’re in Carlsbad and need an honest assessment, call Tradewind Garage Door Repair at (833) 476-2475. We’ll tell you whether your job is DIY-appropriate or professional-only, and we’ll give you a free estimate either way. Steady, reliable, done right.
Written by the team at Tradewind Garage Door Repair, serving Carlsbad since 2015.
See the difference
 Before
 After
 Before
 After
 Before
 After