
Last updated October 30, 2026
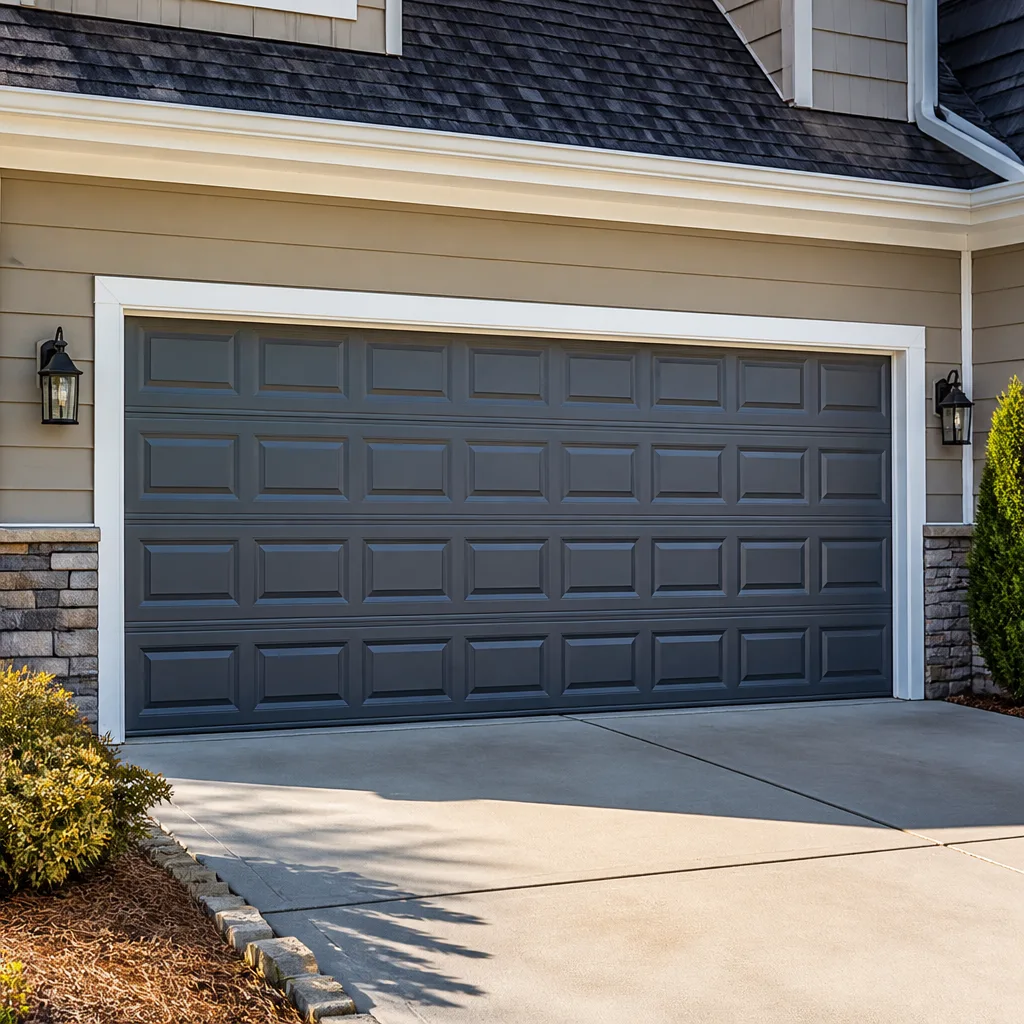 Raised-panel steel
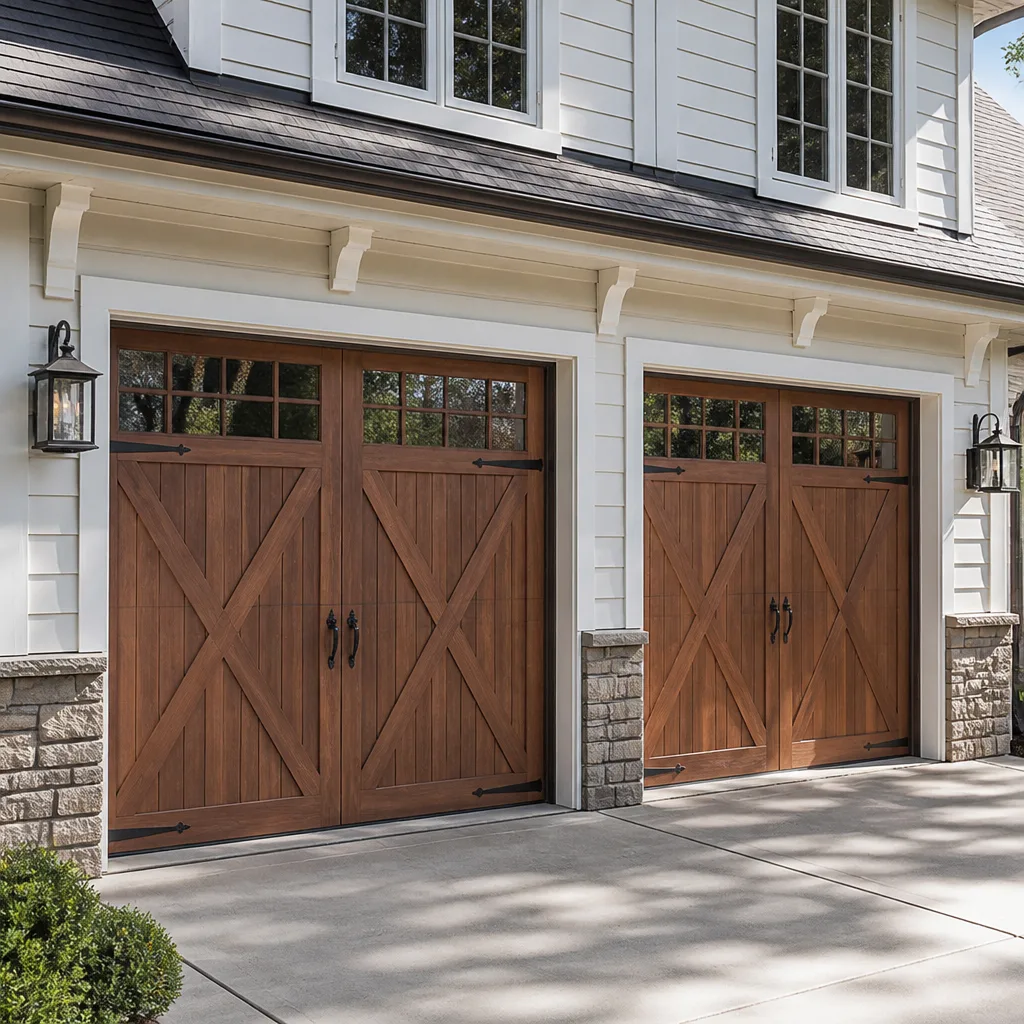 Carriage house
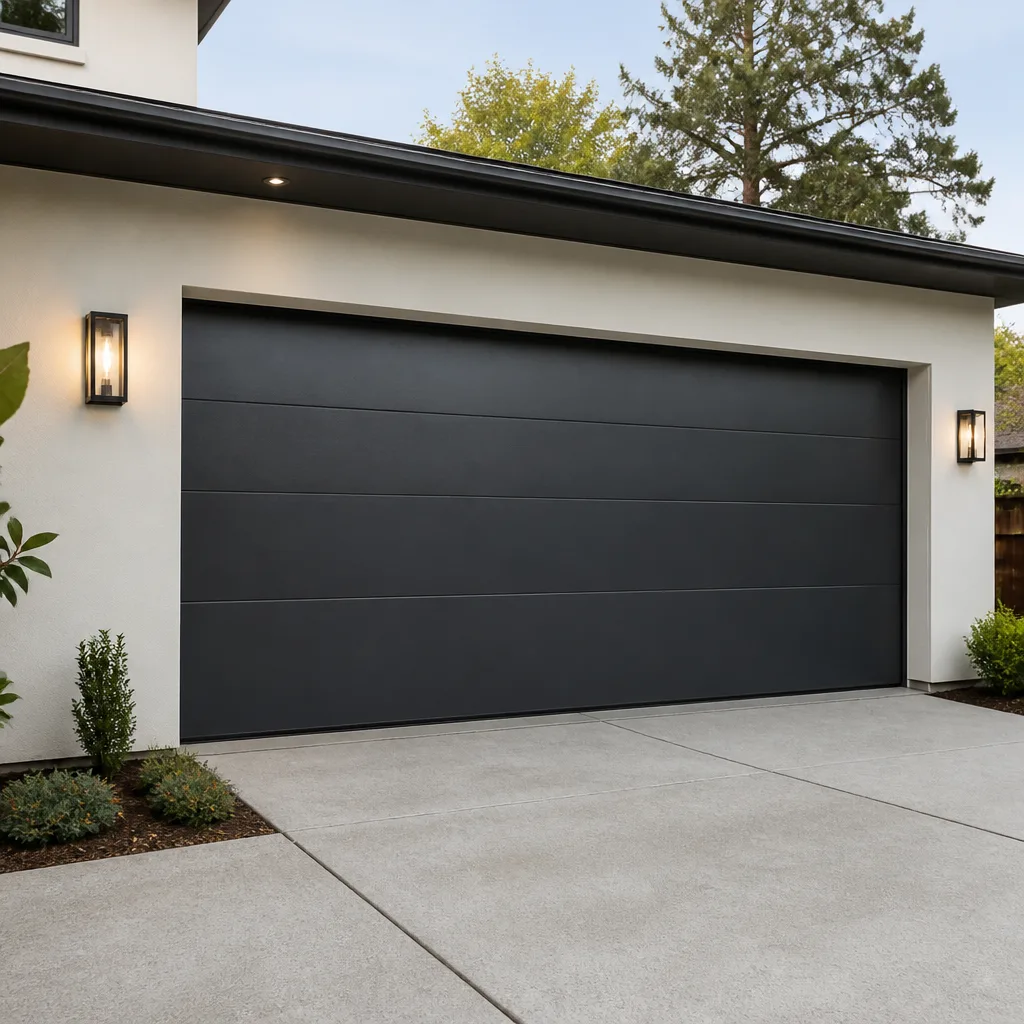 Modern flush
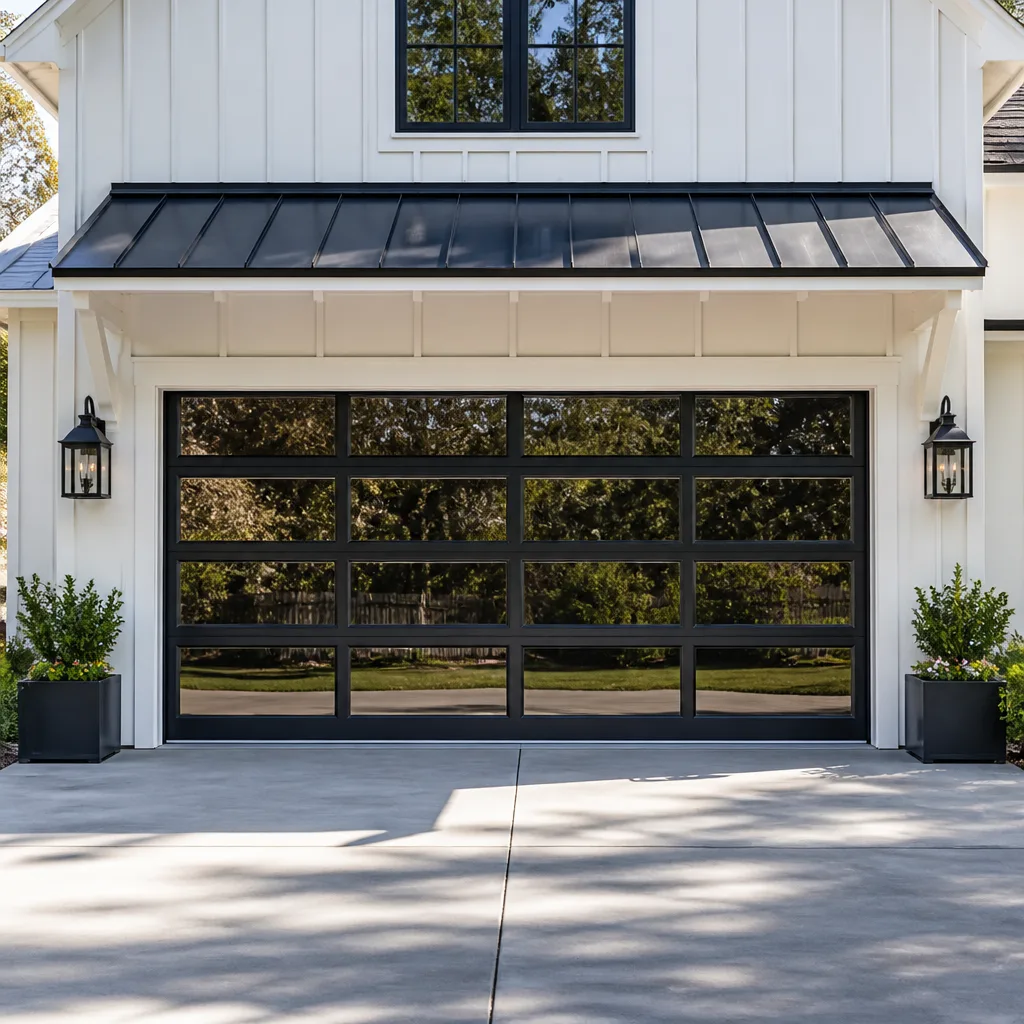 Full-view glass
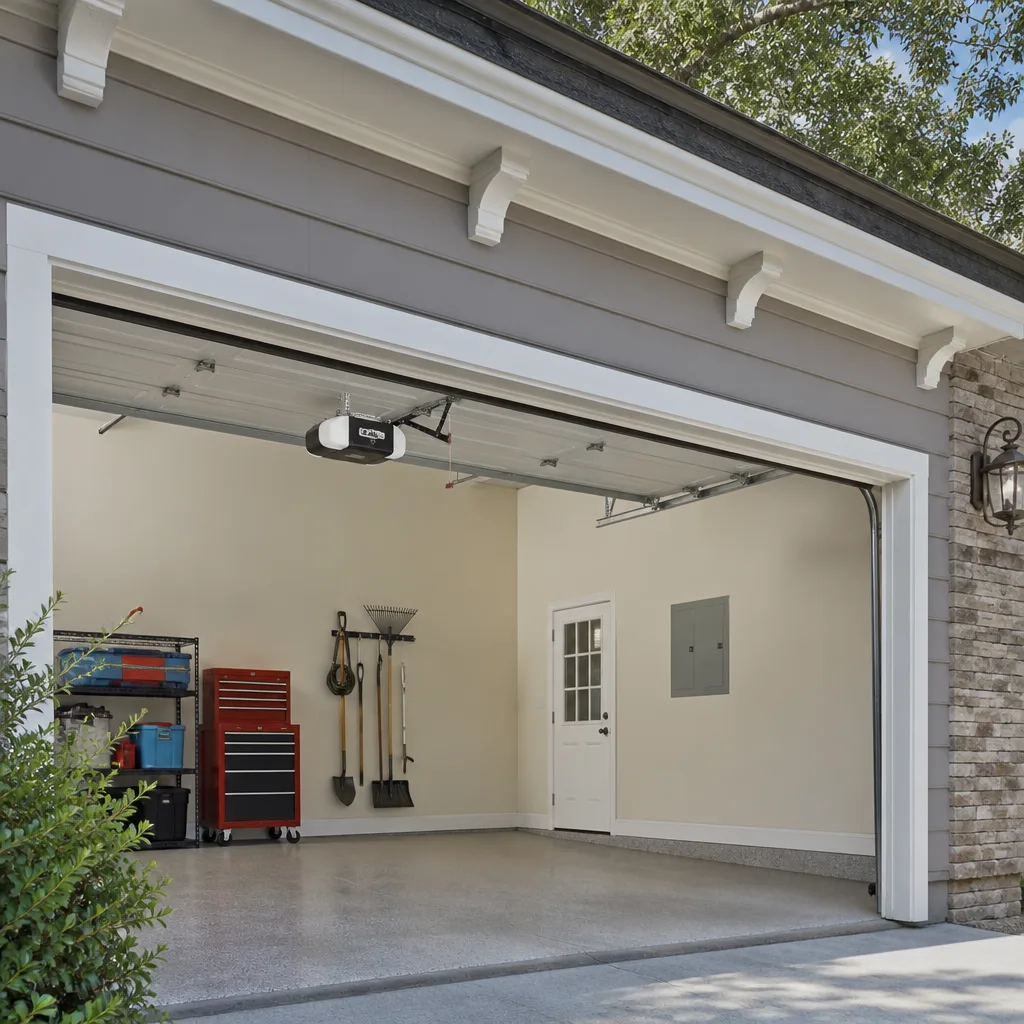 LiftMaster openers
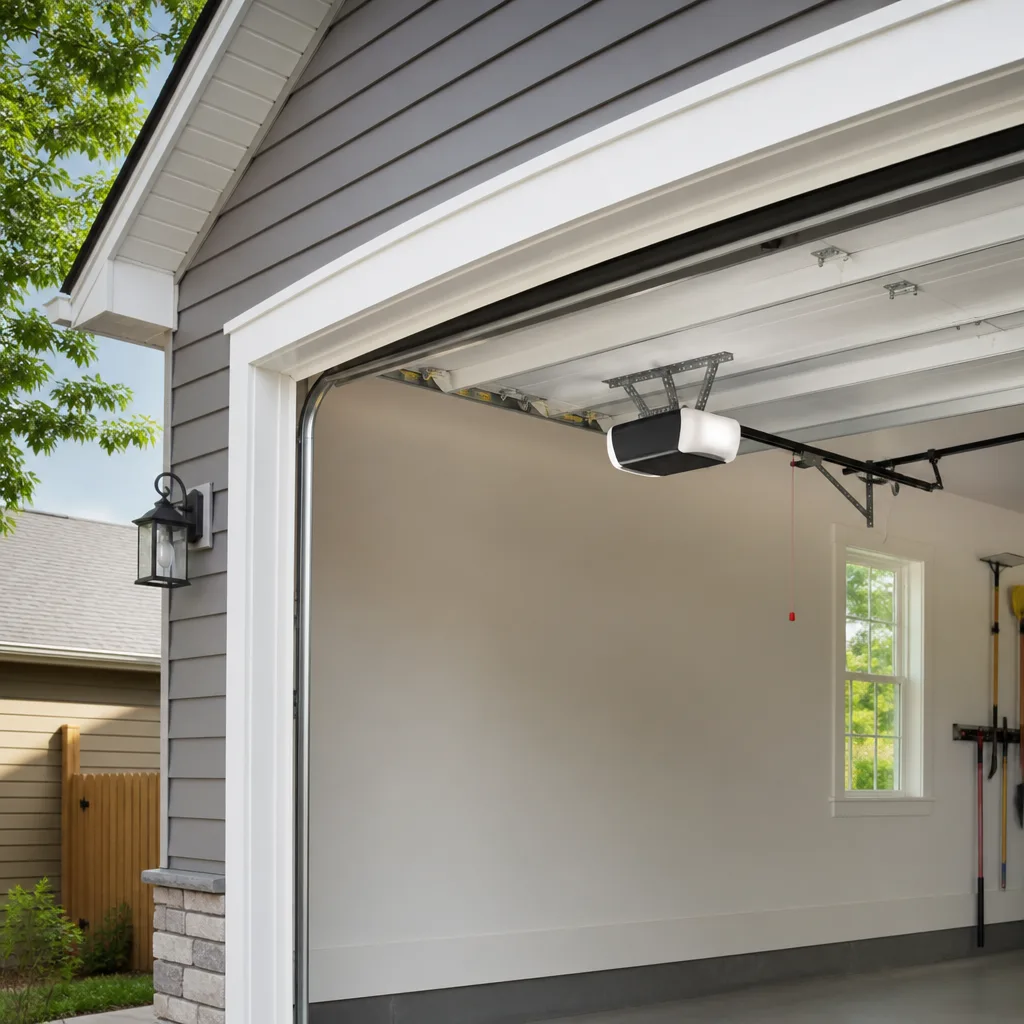 Chamberlain openers
Full 25-point door and opener safety check with every visit - springs, cables, rollers, tracks, and your LiftMaster or Chamberlain opener included
You get a price before we start. It does not change when the truck arrives.
Get your free estimateGarage Door Repair Maintenance Checklist for Carlsbad Homeowners
A garage door spring rated for 10,000 cycles in Scottsdale might fail at 7,000 in a Carlsbad home two blocks from the ocean. The difference isn’t the spring. It’s the salt air, the morning marine layer, and the quiet way coastal humidity strips lubricant and feeds corrosion when nobody’s watching. This guide gives you a maintenance checklist built specifically for Carlsbad’s coastal climate, and it tells you which tasks you can safely handle yourself and which ones genuinely require a Garage Door Repair technician. We’ve seen what happens when these tasks get skipped, and we’ll walk you through every one.
Styles & brands we work with
Quick Answer
A Carlsbad garage door needs a seasonal inspection of its springs, cables, rollers, tracks, and weather seals, with re-lubrication every 3 months instead of the standard 6 because salt air strips lubricant faster. Most visual inspection and cleaning tasks are safe for homeowners, but anything involving torsion springs, cable tension, or track realignment calls for a trained technician. Download the checklist, work through it quarterly, and you’ll catch most failures before they strand you outside the garage. For Garage Door Warning Signs: A Carlsbad Homeowner’s Reference Guide, see our companion post.
Table of Contents
- Why Carlsbad’s Climate Changes the Maintenance Math
- The Quarterly Maintenance Checklist for Carlsbad Homes
- What You Can Safely Do Yourself (and How)
- What Requires a Technician (and Why It’s Not Worth the Risk)
- Weather Seal Inspection: Carlsbad’s UV and Santa Ana Problem
- What Corroded Hardware Actually Looks Like at Each Stage
- How to Track Maintenance History Across Brands and Service Providers
- Common Mistakes to Avoid
- When to Call a Professional
- Frequently Asked Questions
- The Bottom Line
Why Carlsbad’s Climate Changes the Maintenance Math
Most garage door maintenance checklists are written for generic suburban conditions. They assume four seasons, moderate humidity, and hardware that mostly sits still. Carlsbad doesn’t work that way. The marine layer rolls in most mornings from the Pacific, depositing a fine film of salt-laden moisture on every metal surface. Then the afternoon sun burns it off, leaving salt residue behind. That cycle repeats roughly 300 days a year, and it has a direct effect on your garage door’s moving parts.
Salt accelerates corrosion on steel springs, bearings, hinges, and cable anchors. It also degrades lithium-based lubricants faster than the manufacturers’ guidelines assume. A garage door in La Costa or Bressi Ranch might get away with the standard six-month lubrication interval. A door in Terramar, two blocks from the surf, won’t. The same logic applies to weather seals. Carlsbad’s UV intensity, combined with occasional Santa Ana dry heat that pushes temperatures into the 90s with single-digit humidity, dries out vinyl and rubber seals faster than coastal fog alone ever would. The result is a door that slowly loses its seal against moisture, dust, and hot air. You won’t notice it day to day. You’ll notice it when the rollers start grinding or the opener strains against a misaligned track.
Our point is simple: maintenance frequency isn’t one-size-fits-all. For Carlsbad homeowners, the right cadence is quarterly attention, not annual. It’s the difference between a garage door that lasts 15 years and one that needs major repair at 8.
If you’re starting from scratch and want a broader picture of how all the pieces fit together, our Garage Door Repair in Carlsbad page covers the full range of services we perform, from spring and cable work to complete track rebuilds.
The Quarterly Maintenance Checklist for Carlsbad Homes
Work through this checklist every three months. It takes about 45 minutes the first time, closer to 30 once you know your door. If you live within a mile of the coast, stick to the three-month interval. If you’re further inland, say east of El Camino Real, you can stretch some items to six months, but the lubrication step should stay quarterly regardless.
Here are the key takeaways up front:
- Lubricate quarterly, not semiannually. Salt air strips lubricant fast. Use a silicone spray on rollers, hinges, and the torsion spring, never WD-40.
- Inspect springs and cables visually every quarter. Look for rust, fraying, stretched coils, and gaps. Do not touch them.
- Test the balance and auto-reverse every quarter. A door that falls when released is a spring problem, and a failed auto-reverse is a safety hazard.
- Check weather seals for brittleness, cracks, and UV damage. Carlsbad’s sun and Santa Ana winds wreck seals faster than coastal humidity alone.
- Wipe down tracks and photo-eye lenses. Salt film builds up and interferes with the sensors.
- Keep a simple log. Note the date, what you did, and what you saw. The record pays for itself when you call a technician.
- Open and close the door once by hand. Pull the emergency release cord and move the door manually. It should lift smoothly with even resistance and stay open about three to four feet off the ground without dropping. A door that slams shut has a spring problem.
- Listen during the next automatic cycle. Grinding, squealing, or a rhythmic thunk usually means worn rollers, dry bearings, or a track issue. Make a mental note of where the sound comes from: the top panel, the sides, or the opener unit.
- Inspect the torsion spring above the closed door. Look for rust, a visible gap in the coil, or uneven spacing. Any of those is a warning sign. Do not touch the spring or the red winding cones.
- Check both extension springs if your door uses them. These run along the horizontal tracks on either side. Look for stretched coils, rust, or a safety cable that’s loose or missing. A broken extension spring can turn into a projectile; the safety cable exists to prevent that.
- Examine all cables. Look for frayed strands, kinks, or rust near the bottom brackets. A cable that looks fuzzy is one cycle away from snapping.
- Inspect rollers. Nylon rollers should be smooth with no chips. Steel rollers should be rust-free. If you see visible wear on more than two rollers, plan to replace the set.
- Check hinges and brackets. Look for rust, loose bolts, or hairline cracks in the metal. Cracks in the bottom bracket where the cable attaches are especially urgent.
- Test the auto-reverse system. Place a 2×4 or a roll of paper towels under the door and close it. The door should reverse within two seconds of contact. If it doesn’t, call a technician before using the door again.
- Spray lubricant on the torsion spring, hinges, and roller bearings. Use a silicone spray with a straw nozzle. Apply lightly. Wipe off excess with a rag. Excess lubricant attracts salt dust and creates a grinding paste.
- Wipe down the tracks. Use a clean, dry rag to remove salt film and dust from inside the vertical and horizontal tracks. Do not grease the tracks. The rollers run on bearings and don’t need track lubrication.
- Inspect the weather seal on the bottom of the door. Look for cracks, brittleness, missing sections, or gaps where the seal meets the floor. Run your hand along it (carefully, with the door closed) and feel for stiff spots.
- Check the side and top seals. These are the vinyl strips attached to the door frame. Press on them with your finger. They should feel flexible and spring back. If they feel like hard plastic or crack when flexed, they’ve gone and need replacing.
- Clean the photo-eye lenses. These are the small sensors on either side of the door, about six inches off the ground. Wipe each lens with a dry cloth. Salt film is enough to trigger a false obstruction signal.
- Record everything. Write down the date, what you did, and anything that seemed off. A simple note like “right roller noisy, some rust on bottom bracket” is exactly what a technician needs to hear.
If you’re comfortable with the first nine items but get nervous around springs and cables, that’s the right instinct. The next two sections separate the safe tasks from the dangerous ones.
What You Can Safely Do Yourself (and How)
Some maintenance jobs are genuinely safe for a homeowner with basic tools and a step stool. The dividing line is simple: if a task involves cleaning, lubricating, or inspecting, it’s usually fine to do yourself. If it involves removing, adjusting, or replacing anything under tension, it’s not.
Safe Tasks: Inspection and Light Cleaning
- Visual inspection of every component. You don’t need to touch anything. Simply looking at springs, cables, rollers, hinges, and seals with a flashlight will catch most developing problems.
- Lubricating hinges and rollers. Use a silicone spray with a straw nozzle. Spray each hinge pivot point and each roller bearing. This is low-risk work. The parts move, but they’re not under dangerous tension.
- Cleaning the safety sensor lenses. A dry microfiber cloth on each photo-eye lens takes 30 seconds and prevents most phantom obstruction errors.
- Wiping down tracks. A dry rag inside the track removes salt film and dust. Use no solvents. Tracks don’t need lubrication.
- Tightening visible bolts on hinges and brackets. This is the limit of hardware work. Use a socket wrench to snug up bolts that have worked loose. Do not remove them. Do not adjust the track.
- Replacing the bottom weather seal. Most Clopay, Amarr, and Wayne Dalton doors use a T-style or J-style vinyl seal that slides into a retainer channel. This is a DIY job if you’re patient: remove the old seal, clean the channel, and slide the new one in. Buy a seal that matches your door’s brand and model, not a universal fit that may not seat properly.
What to Watch For on a DIY Inspection
On a Craftsman door we recently inspected in Carlsbad, a homeowner had noticed a “squeak” for six months before the cable snapped. The squeak was a dry roller bearing. A $4 can of silicone spray applied at month two would have saved the cable, the bracket, and the resulting call-out. When you inspect, note the small stuff: a dry roller sounds like a chirp, a loose hinge sounds like a rattle, and a sticky track feels like a hesitation. Each of those has a name and a fix, and the fix is almost always cheaper the day you notice it.
What Requires a Technician (and Why It’s Not Worth the Risk)
There’s a reason garage door repair exists as a profession. The torsion spring above your door holds enough tension to lift a 150-pound door. When that spring breaks, it releases that energy instantly. People have lost fingers, broken hands, and worse by trying to remove or adjust torsion springs without the proper winding bars and training. This isn’t a soft recommendation. It’s the line between maintenance and injury.
Leave these tasks to a professional:
- Torsion spring replacement or adjustment. The spring is wound under roughly 90 to 140 pounds of torque depending on the door. One wrong move with an improvised tool and the spring unwinds with catastrophic force.
- Cable replacement or reattachment. Cables work in partnership with the springs. When a cable snaps, the other one takes uneven load, and the door can jam or drop. Re-threading cables requires unloading the spring tension first.
- Track realignment or replacement. A track that’s off by a quarter inch will eat rollers and strain the opener. Bending track back into shape without the right tools usually makes it worse.
- Opener motor or gear replacement. Older Genie and LiftMaster openers use a plastic drive gear that eventually strips. Replacing it requires opening the powerhead and dealing with line voltage and circuit boards.
- Panel replacement or major dent repair. Matching a discontinued panel profile or color is harder than it sounds. Most homeowners guess wrong and end up with a mismatched door.
Our technicians carry parts for every major brand on the truck. When we arrive at a Carlsbad home, we diagnose first, quote second, and start work only after you’ve approved the price. There’s no mystery fee at the end. The price we quote is the price you pay.
Weather Seal Inspection: Carlsbad’s UV and Santa Ana Problem
Weather seals are the unsung workhorses of a coastal garage door. They keep salt air out, keep climate-controlled air in, and cushion the door when it closes. In Carlsbad, these seals face a unique double threat. The marine layer keeps them damp in the morning, and the afternoon UV index bakes them dry. When Santa Ana conditions arrive, often in September and October, the humidity drops to near zero and the heat spikes. A vinyl seal that’s been through 200 days of salt-and-sun cycles can crack in a matter of weeks during that stretch.
Here’s how to check a seal properly:
- Close the door and look from inside. Daylight should not be visible under the door or along the sides. Any light means a gap, and a gap means salt air and dust are getting in.
- Press the bottom seal with your thumb. It should compress and rebound. If it feels rigid or shows white stress marks when flexed, the vinyl has lost its plasticizers and is on borrowed time.
- Check the top seal on the header. This is the strip where the top panel meets the frame when the door is closed. Run your hand along it and feel for cracks or brittle sections.
- Inspect the seal on the sides of the door frame. Look for gaps where the seal has pulled away from the jamb. A thin flathead screwdriver is a good gauge: if it slips between the seal and the jamb, the seal is no longer doing its job.
When seals fail, the symptoms are easy to miss. Your garage gets dustier. The door doesn’t close as quietly. Your opener works slightly harder every cycle. None of these are dramatic. All of them compound. A good rule of thumb for Carlsbad: replace bottom seals every 3 to 4 years, and side seals every 5 to 7, depending on how much direct afternoon sun your door takes. Doors on west-facing garages in the La Costa valley get considerably more UV than shaded doors in central Carlsbad.
If you need help matching the right seal to your specific Amarr, Clopay, or Wayne Dalton door profile, our Garage Door Installation in Carlsbad page explains what we look for when we inspect and service door hardware. Seal matching is one of those details that looks easy until you’re holding three different profiles and none of them fit.
What Corroded Hardware Actually Looks Like at Each Stage
Corrosion doesn’t happen all at once. It progresses through recognizable stages, and if you know what to look for, you can catch it early. Here’s what we see on Carlsbad garage doors at each stage.
Stage 1: Surface Discoloration
What it looks like: A dull gray film or light brown freckling on springs, hinges, and roller stems. The metal hasn’t lost strength yet, but it’s lost its protective coating.
What to do: Wipe the affected area with a dry rag and apply a light coat of silicone spray. This creates a barrier against further moisture. Do this within a month of noticing Stage 1 and you’ve likely stopped the progression.
Stage 2: Flaking and Pitting
What it looks like: The surface starts to flake or pit. You’ll see small craters on roller stems and spring coils. The metal feels rough to the touch. Rust dust may collect under the hinges.
What to do: This is the last stage where you can intervene with anything short of replacement. Clean the area with a wire brush, then apply a corrosion-inhibiting spray. But be honest about what you’re seeing: Stage 2 pitting on a torsion spring is a countdown, not a fix. The spring’s fatigue life is already compromised.
Stage 3: Structural Weakness
What it looks like: Cracks form at the edges of hinges or brackets. The spring develops visible surface fissures. A roller stem looks thin or misshapen. On cables, you’ll see broken strands and fuzziness.
What to do: Stop using the door and call a technician. A Stage 3 component can fail without warning. A bracket that cracks under load will send the cable flying. A spring with surface fissures is one cycle away from snapping.
Stage 4: Actual Failure
What it looks like: A broken spring with a visible gap in the coil. A snapped cable. A roller that’s ground flat on one side, usually accompanied by a deep gouge in the track. A hinge that’s bent or separated. The door either won’t open, opens unevenly, or makes a loud bang during operation.
What to do: Don’t operate the door at all. Disconnect the opener using the emergency release cord only if the door is stuck fully open, and keep pets and kids away. A failed torsion spring or cable means the door is effectively dead weight, and it can drop fast. Call a technician immediately.
In our experience, most Carlsbad homeowners catch corrosion at Stage 2. They notice rust on the roller stems during a quarterly inspection and call us. That’s the sweet spot: the repair is usually a roller replacement or a bracket swap instead of a full spring job. Wait until Stage 3 and the bill doubles.
How to Track Maintenance History Across Brands and Service Providers
Your garage door might be a Clopay installed in 2011, paired with a LiftMaster opener replaced in 2018. If you’ve used three different service companies over that time, you probably have zero documentation of what was done and when. That lack of history costs you money and time when the next technician has to diagnose a problem from scratch.
You don’t need a complicated spreadsheet. A simple notebook or a note on your phone works fine. Here’s the format we recommend:
Date / What was done / Who did it / Parts used / Cost / What to watch next
Example entry:
February 14, 2025 / Replaced left torsion spring and both cables / Carlsbad Garage Door Co. / Clopay spring 0.250 x 2 x 27 / $340 / Right spring was inspected and looked okay but is 6 years old, expect to replace within 2 years
That entry is gold. When the right spring fails in 2026, as the technician predicted, the next tech sees the part number, the brand, the date, and the cost. No guessing. No re-diagnosis. The record also protects you if a part fails prematurely under warranty. Showing documentation that a spring was replaced 11 months ago is a lot more persuasive than saying it out loud.
Here’s what to track:
- Date of every service, repair, or replacement. Even a quick roller replacement.
- Brand and model of the door and opener. The more specific, the better. A Clopay model 4050 and a LiftMaster 8365W are precise identifiers; “gray garage door and opener” is not.
- Part numbers where available. Springs have part numbers stamped on them. Hinges and rollers usually don’t, but the brand matters.
- Prices and warranty terms. If a spring carries a two-year coast-to-coast cycle rating, record it.
- Observations from the technician. What did they notice that didn’t fail yet? This is the most useful information you can save.
For single-family homeowners in Carlsbad who plan to stay in their house long-term, this record is worth its weight in Clopay steel. For sellers, it’s a small but meaningful piece of documentation to hand a buyer. It says this garage has been maintained. That’s a quiet selling point in a market where buyers look for reasons to negotiate.
If you want a second set of eyes on your current door before starting a maintenance log, our Garage Door Opener Repair in Carlsbad page covers opener diagnosis and repairs specifically. We’ll tell you what you have, what condition it’s in, and what it’s likely to need next.
Common Mistakes to Avoid
- Using WD-40 as a garage door lubricant. WD-40 is a solvent, not a lubricant. It strips away the existing lubricant and dries out. Use silicone spray or white lithium grease specifically made for garage doors. We’ve watched WD-40 wreck more roller bearings than rust ever did.
- Greasing the track. Tracks are meant to stay dry. Grease attracts salt dust and turns into a gritty paste that accelerates roller wear. If the track looks dirty, wipe it with a dry rag. That’s all it needs.
- Ignoring a door that’s slightly off-balance. A door that hangs a little crooked or closes with one side leading is telling you something. The cable is stretching, the spring is fatiguing, or a roller is binding. Ignore it and the problem migrates to the other side.
- Assuming the opener is the problem. When a door won’t open, most Carlsbad homeowners blame the opener. Usually it’s a spring. A broken spring means the opener is trying to lift full dead weight, which it was never designed to do. Continuing to press the button humiliates the opener and shortens its life.
- DIY cable repair. Cables are cheap to replace and expensive to get wrong. A cable that comes off under tension can whip across the garage. We’ve seen the aftermath of a homeowner who tried it with a pair of pliers. Don’t.
- Replacing one part instead of the pair. If one roller is shot, the others are usually close behind. If one spring has failed, the other has the same cycle count. Replacing a single item gets you back up and running cheaper today, but the second failure is coming soon. Ask your technician for an honest assessment of the pair.
- Overlooking the weather seal until you see water. In Carlsbad, the seal isn’t about keeping rain out. It’s about keeping salt air out. By the time you see water, you’ve been breathing in a fine mist of marine layer salt for months. Check seals quarterly and replace them before they fail completely.
When to Call a Professional
Call a technician the moment you notice any of these: a visible gap in the torsion spring, a frayed or snapped cable, a roller that’s ground flat, a track that’s visibly out of line, a bottom bracket with cracks, or an auto-reverse that fails the 2×4 test. Also call if your door won’t open at all, opens unevenly, or makes a loud bang during operation. These are not maintenance items. They’re structural failures in progress. Attempting a DIY fix on any of them risks serious injury. Tradewind Garage Door Repair offers free estimates in Carlsbad. Call (833) 476-2475 and we’ll diagnose the problem, give you a straight answer on whether repair or replacement makes sense, and quote the full price before any work begins. No brand bias, no upsell pressure, no repair you didn’t approve.
Frequently Asked Questions
A Carlsbad garage door should be inspected every three months with lubrication at the same interval, because salt air strips lubricant faster than in inland climates. Most homeowners can do the visual inspection and lubrication themselves, but a professional inspection once a year is a reasonable supplement if you want trained eyes on the springs and cables. Call (833) 476-2475 if you’d like us to do the annual check.
A professional garage door tune-up in Carlsbad typically costs between $85 and $150, depending on the door type, opener model, and number of components serviced. Lubricating and inspecting the door yourself costs about $12 for a can of silicone spray. If a tune-up reveals worn rollers or a fatigued spring, those replacements are quoted separately before any work is done.
Yes, lubricating hinges, rollers, and the torsion spring with a silicone spray is a safe DIY task if you keep your hands and tools away from the spring itself. Apply lightly, wipe off excess, and never use WD-40. The spring can stay in place while you spray it; just don’t touch the winding cones or try to adjust anything.
A spring about to break usually shows surface rust, visible coil gaps, uneven coil spacing, or a door that feels heavy when operated manually. You may also hear a louder-than-usual creak from the spring during operation. If you notice any of these, stop using the door and call a technician; a broken torsion spring under load can cause serious injury.
In Carlsbad’s salt-air climate, torsion springs typically last 7,000 to 10,000 cycles, which equals roughly 7 to 10 years for the average homeowner who opens the door three to four times a day. Homes closer to the ocean and doors used more frequently will fall on the shorter end. A spring that’s been lubricated consistently every three months will last noticeably longer than one that’s been neglected.
Yes, salt air accelerates corrosion on steel springs, cables, hinges, and roller bearings, and it degrades lubricants faster than dry inland air. Homes within a mile of the Pacific coast in Carlsbad see measurable differences in component life compared to homes east of El Camino Real. The maintenance answer is straightforward: lubricate quarterly, inspect quarterly, and expect springs and cables to need replacement a few years sooner than manufacturer averages suggest.
Our Tradewind Garage Door Repair home page has the full scope of what we do across Carlsbad. If you’re working through this checklist and keep running into items that feel beyond your comfort level, that’s the page to see the rest of what we can handle.
The Bottom Line
A Carlsbad garage door lives in salt air, strong UV, and occasional dry heat, which means the real maintenance question isn’t what to do, but how often to do it. Inspect quarterly. Lubricate quarterly. Replace weather seals before they crack and fail. Know what you can safely do yourself, and leave spring, cable, and track work to someone who does it every day. Keep a simple record of what’s been done and when, because it saves you money on the next visit and makes you a smarter owner. Browse our more guides & resources for additional Carlsbad-specific maintenance advice. If you find yourself staring at rust on a spring or a cable that’s starting to fray, call us at (833) 476-2475. We’ll give you an honest read, an exact price, and a repair that’s approved before we start. Steady, reliable, done right.
Written by the team at Tradewind Garage Door Repair, serving Carlsbad since 2015.
See the difference
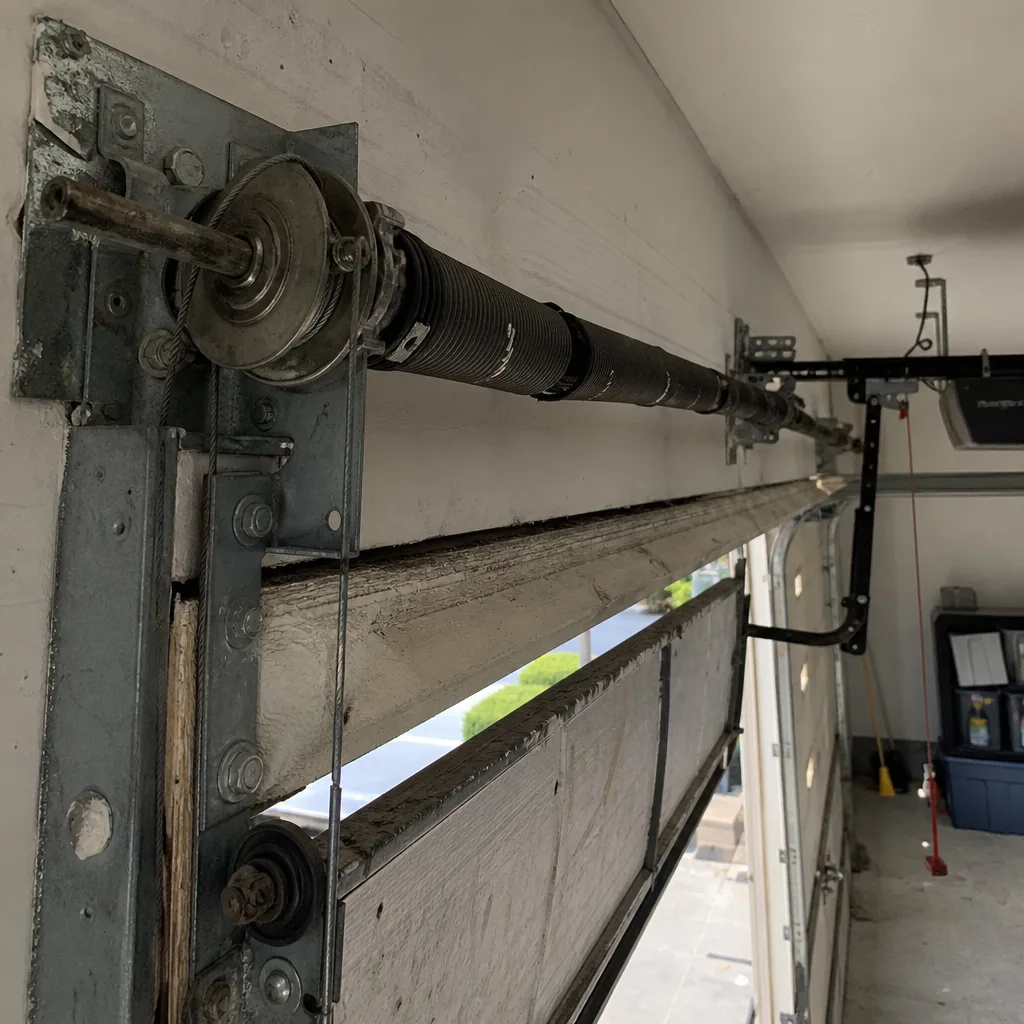 Before
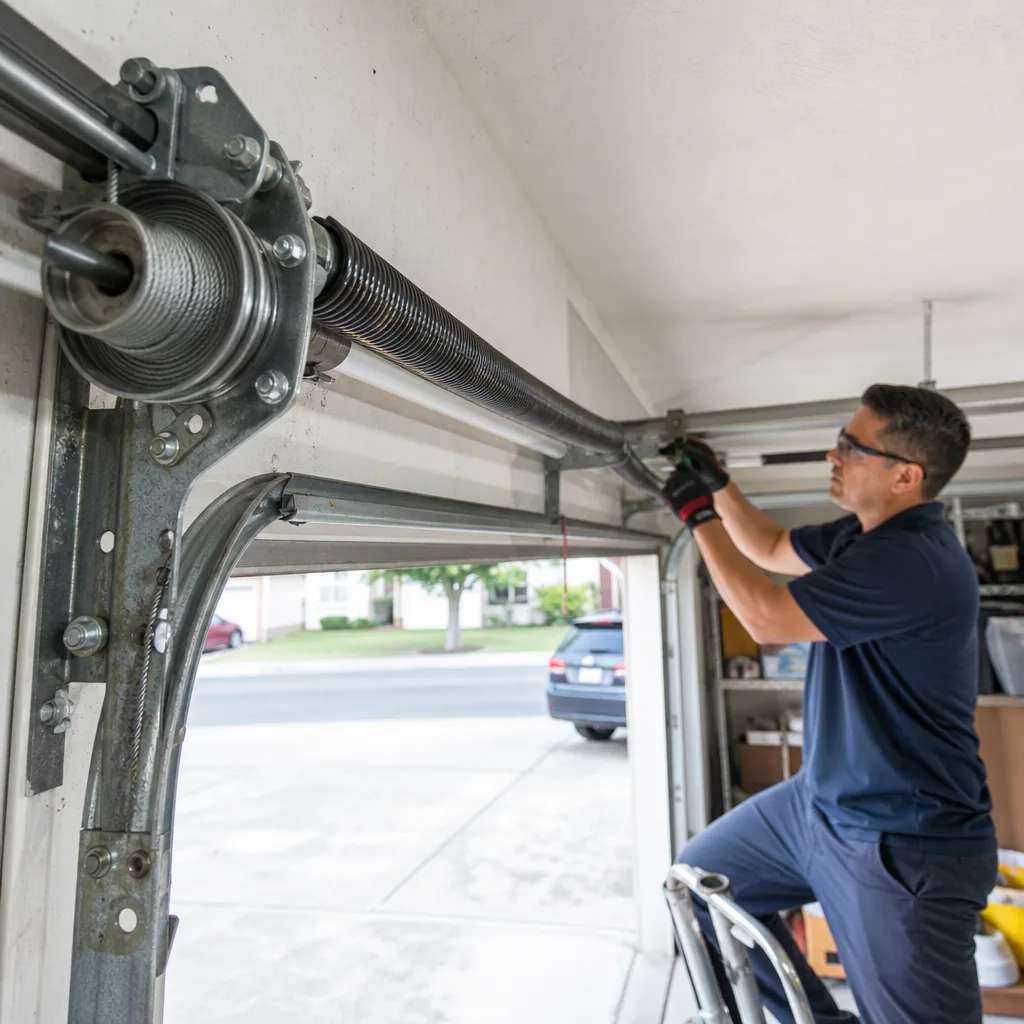 After
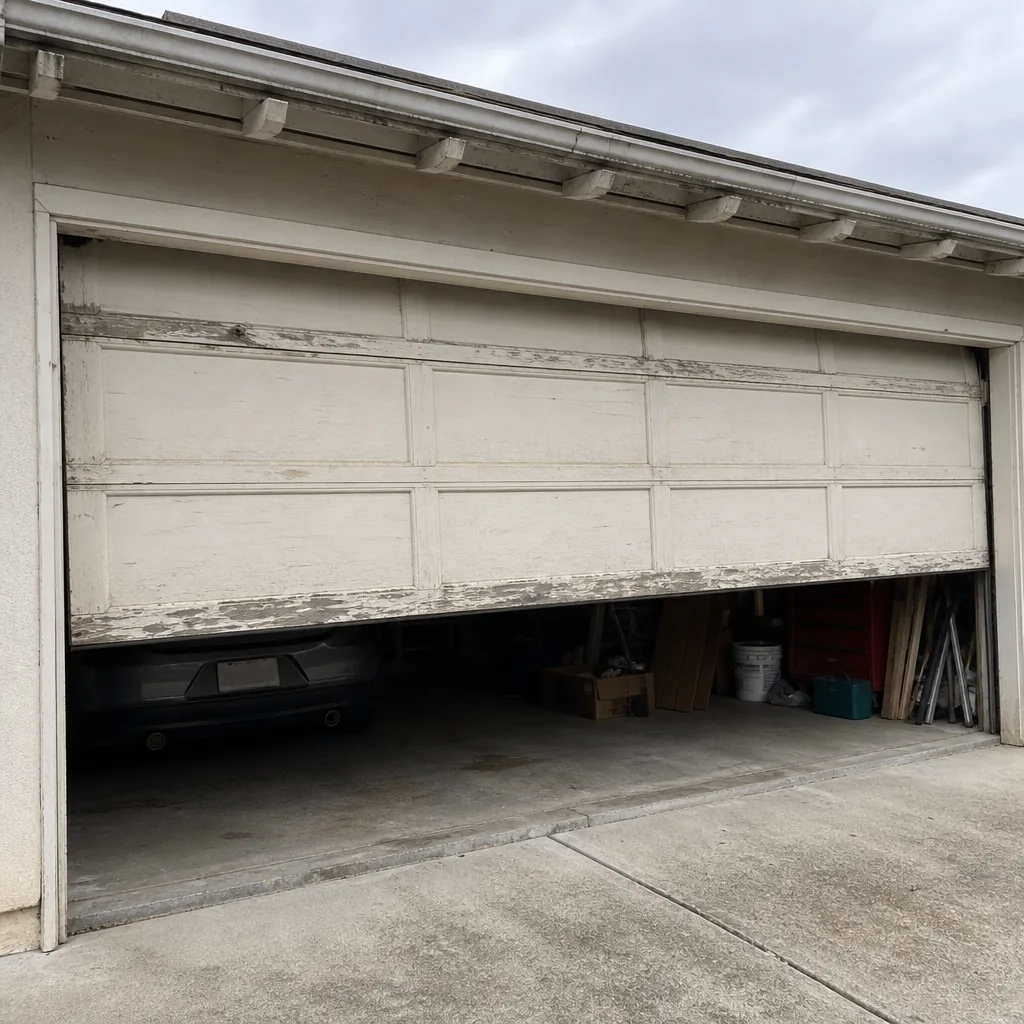 Before
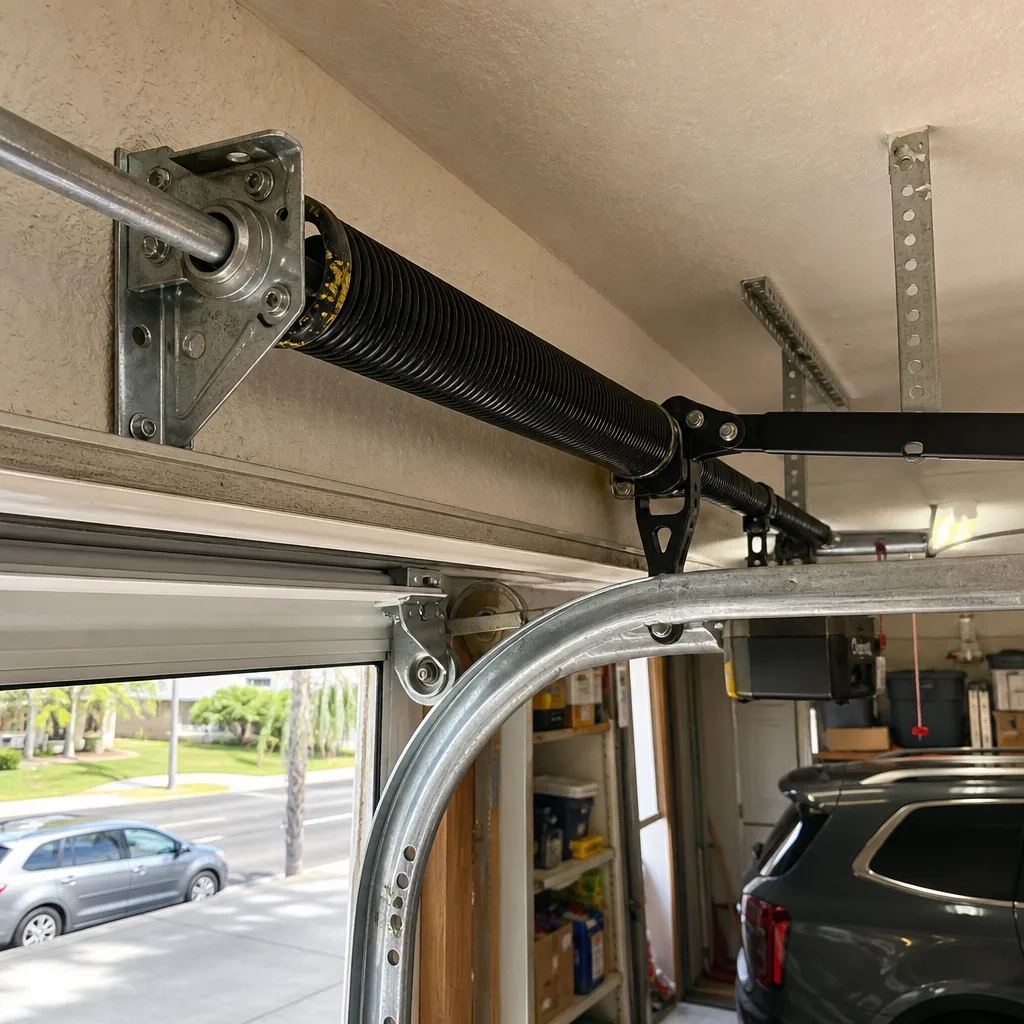 After
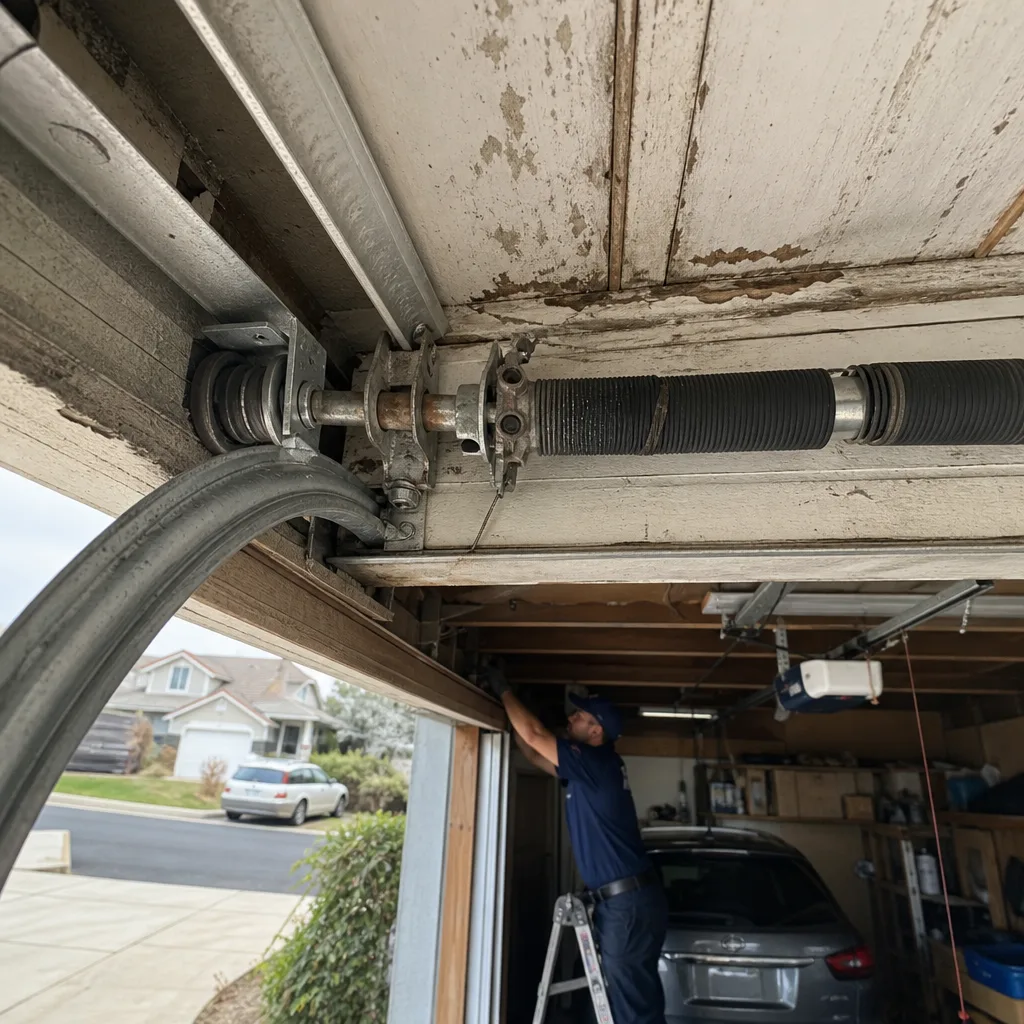 Before
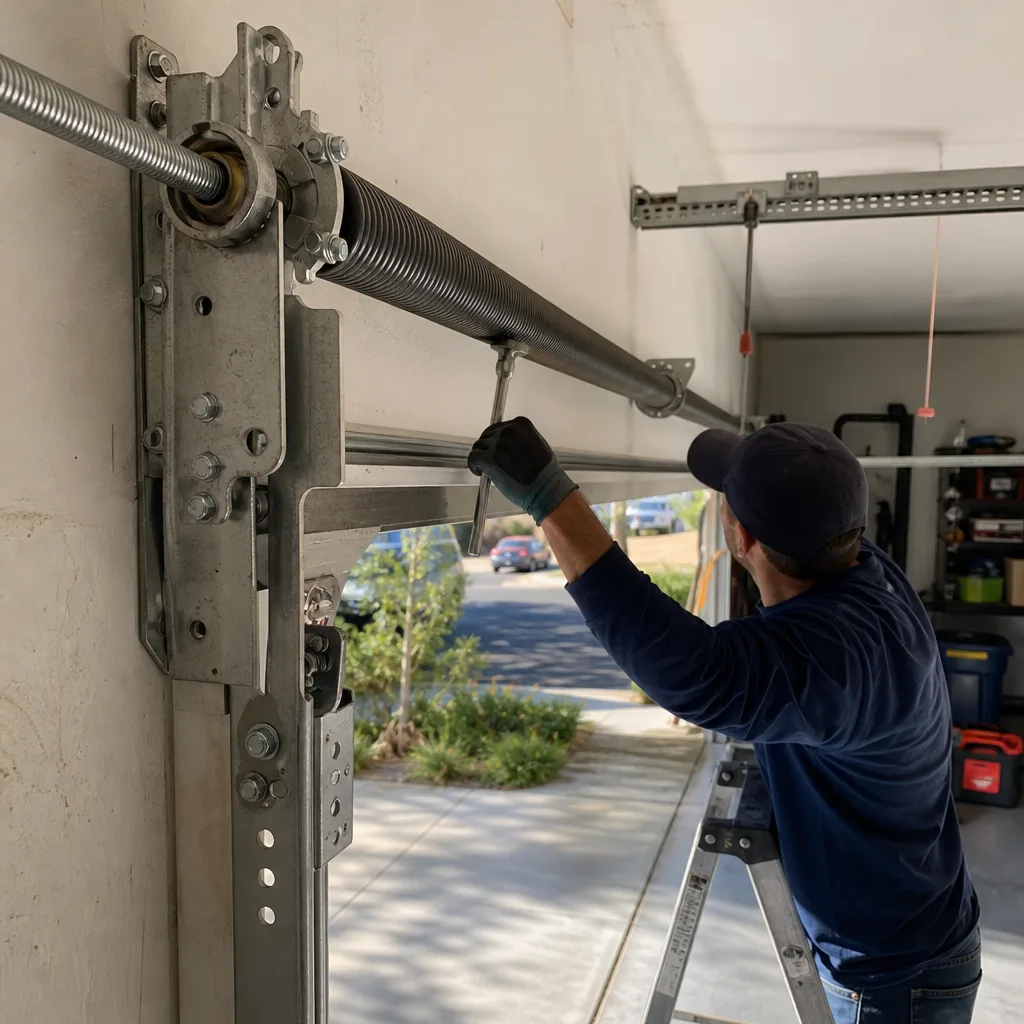 After