
Last updated October 30, 2026
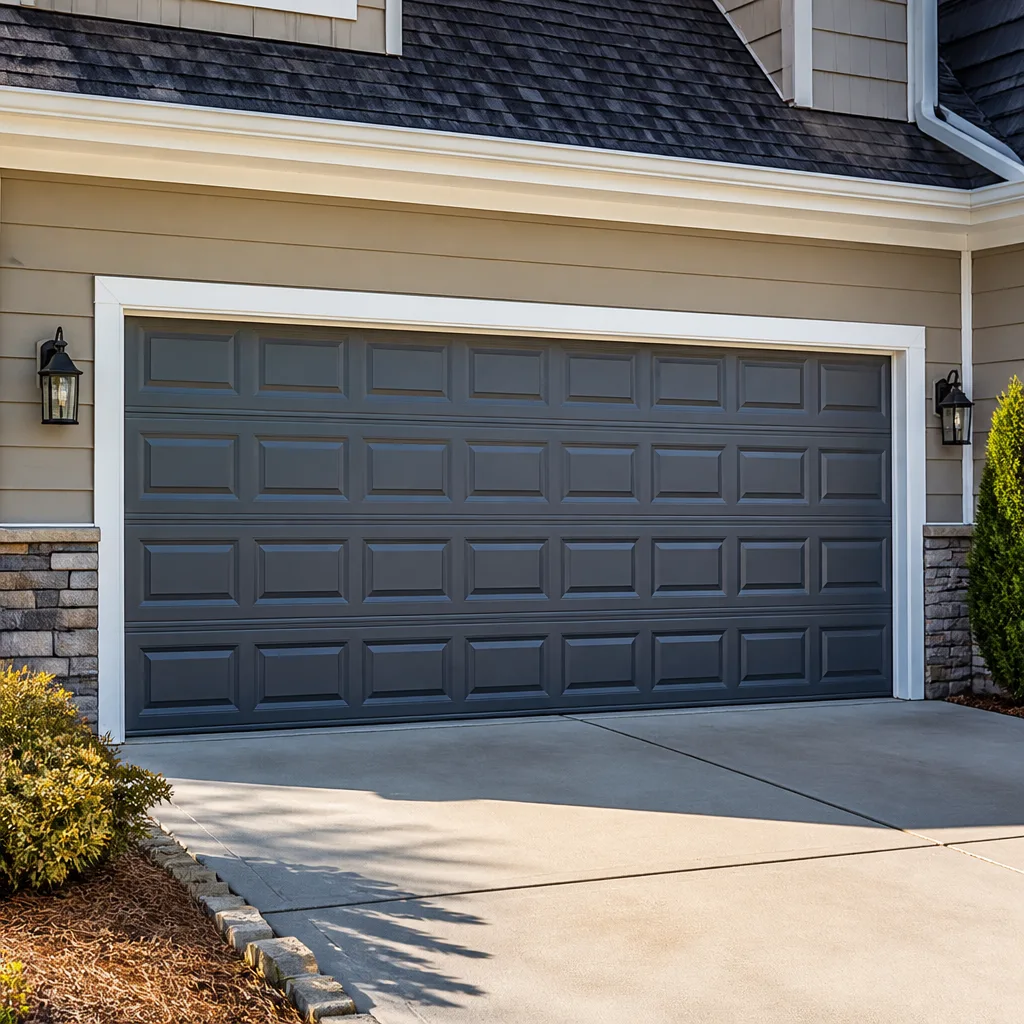 Raised-panel steel
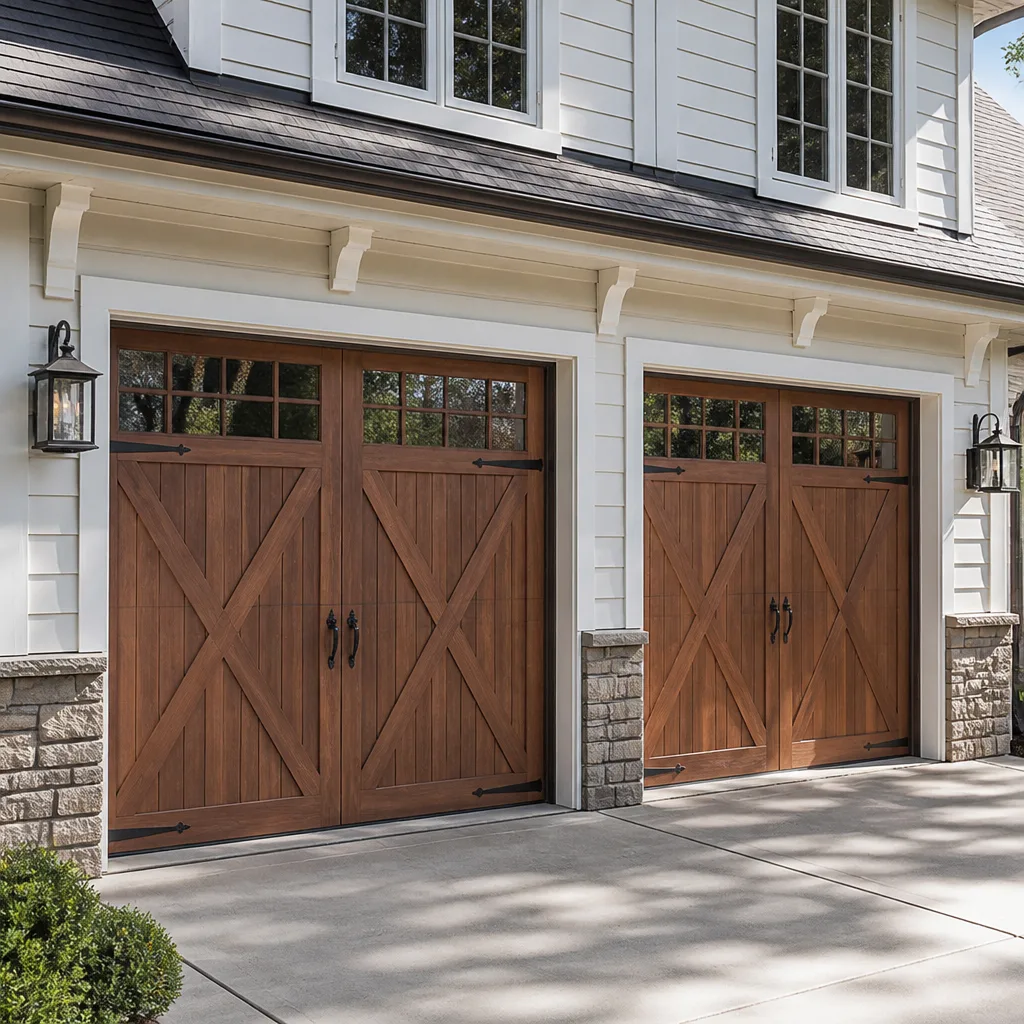 Carriage house
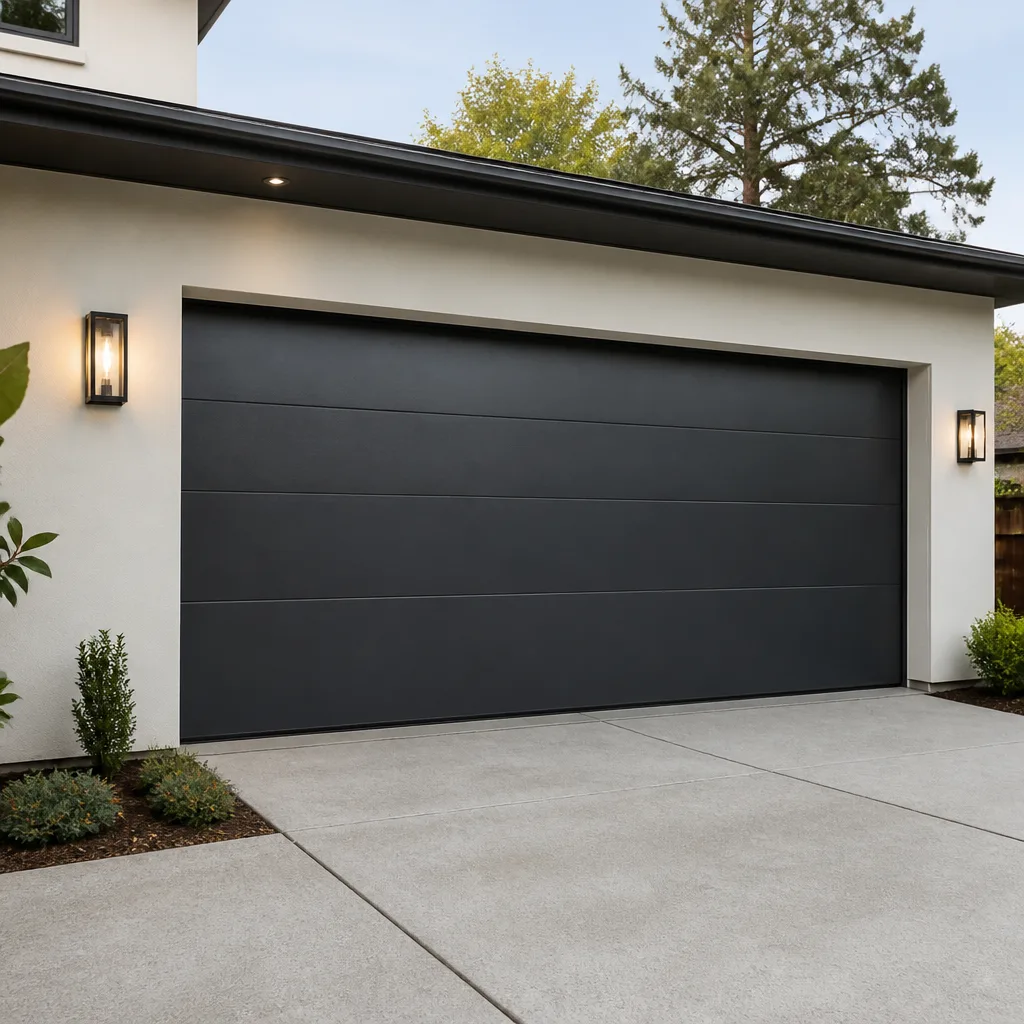 Modern flush
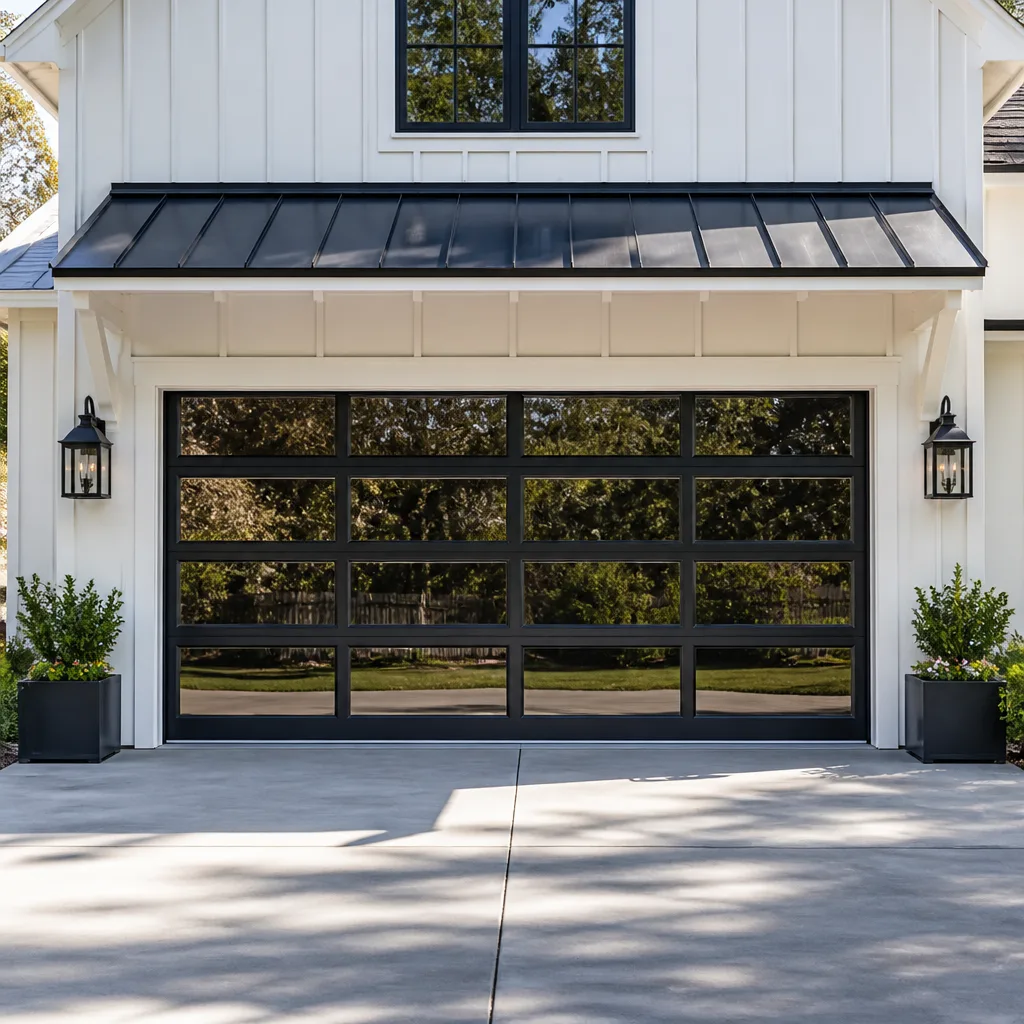 Full-view glass
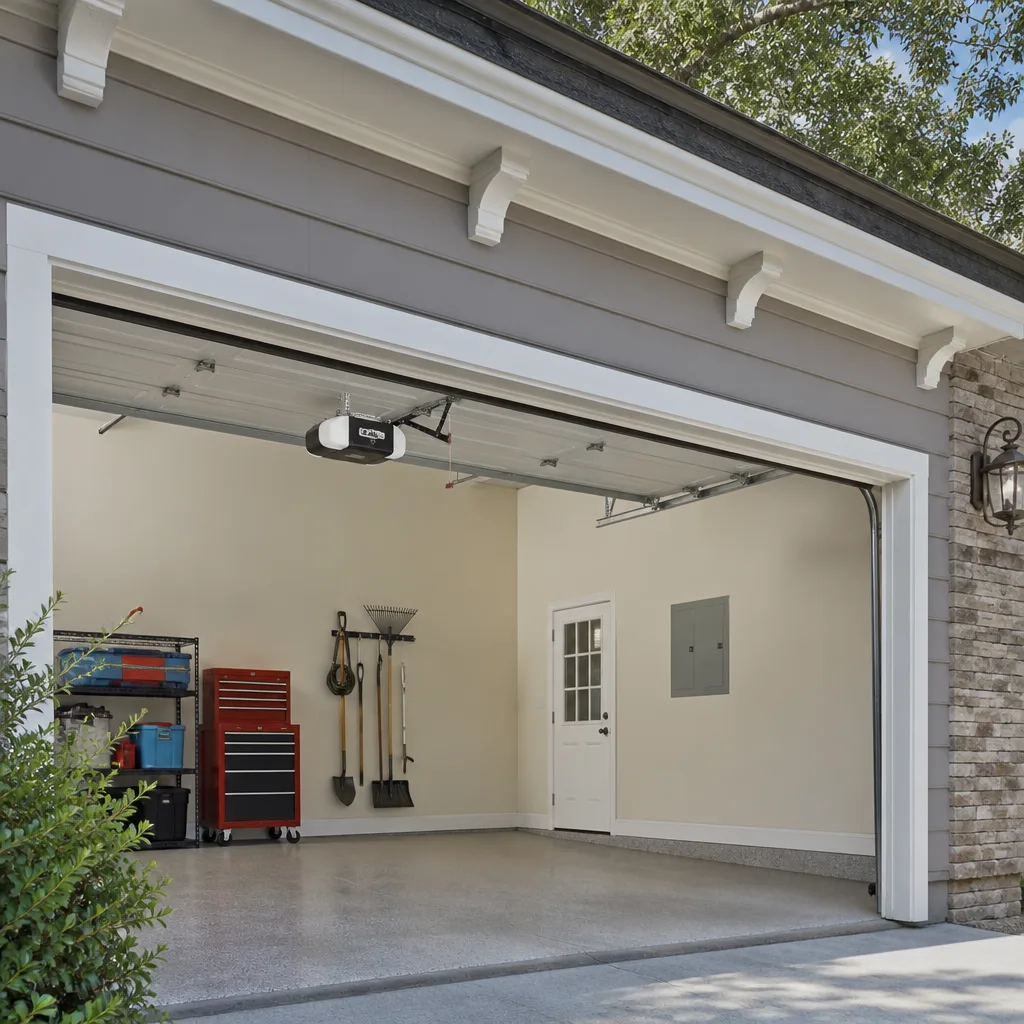 LiftMaster openers
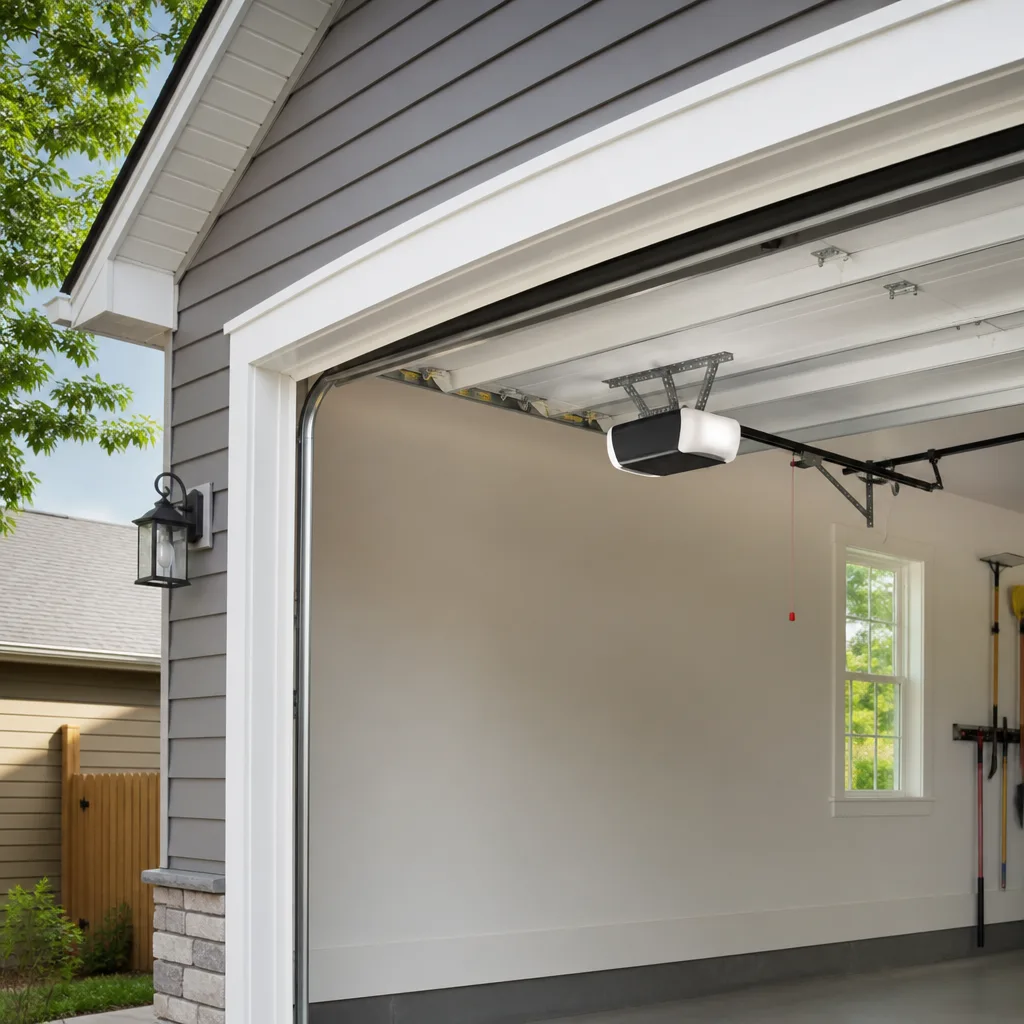 Chamberlain openers
Full 25-point door and opener safety check with every visit - springs, cables, rollers, tracks, and your LiftMaster or Chamberlain opener included
You get a price before we start. It does not change when the truck arrives.
Get your free estimateGarage Door Repair Troubleshooting: Common Problems and How to Fix Them
Here’s a number that might surprise you: most garage door repair bills in Carlsbad climb not because the underlying problem was complex, but because the homeowner couldn’t tell the technician what they were hearing, seeing, or feeling when the door misbehaved. A vague description like “it’s making a noise” sends even an honest tech down a path of replacing parts one by one until the symptom disappears. This guide changes that. You’ll learn how to isolate a garage door problem to a single likely cause before anyone steps foot in your garage, which means a faster fix, a fairer quote, and no paying for parts you didn’t need. We’ll walk through a decision-tree framework, teach you the manual-release test most homeowners never learn, decode the five sounds a failing door makes, and show you exactly what to document before making the call.
Styles & brands we work with
Quick Answer
Garage door troubleshooting starts with one question: does the door move at all, move partially, move but sound wrong, or operate but not seal properly? Each branch points to a specific component – the opener, springs, rollers, tracks, or weather seal – and this guide walks you through identifying which one is failing so you can describe the problem accurately and get an honest repair estimate.
Table of Contents
- The Four-Branch Diagnostic Decision Tree
- The Manual-Release Test: Opener vs. Mechanical Failure
- The Five Sounds a Garage Door Makes (And What Each One Means)
- Symptoms You Can Monitor vs. Symptoms That Require Stopping Use
- How to Document a Problem Before Calling a Technician
- What Changes by Brand: Wayne Dalton, Craftsman, LiftMaster, and Raynor
- How Carlsbad’s Climate and Housing Stock Affect Garage Door Problems
- Common Mistakes to Avoid
- When to Call a Professional
- Frequently Asked Questions
- The Bottom Line
The Four-Branch Diagnostic Decision Tree
Every garage door problem falls into one of four branches. You don’t need to be mechanically inclined to work through this – you just need to observe what happens when you press the wall button or remote. Start at the top and move down until you find the branch that matches your situation.
Branch 1: The Door Doesn’t Move at All
If you press the button and nothing happens – no sound, no movement, no response – the problem is almost always electrical or opener-related, not mechanical. The door itself is likely fine; it’s the system that tells it to move that has failed. Check these in order:
- Power source. Is the opener plugged in? Has a GFCI outlet tripped? In Carlsbad, occasional power surges during coastal storm fronts can trip the dedicated circuit the opener runs on. Press the reset button on the outlet itself before assuming the opener died.
- Remote batteries. This sounds obvious, but roughly one in five “dead opener” calls we run across turns out to be a remote with dead batteries. Replace them before scheduling service.
- Safety sensor alignment. If the opener hums but won’t engage, or the wall button works but the remote doesn’t, check the photo-eye sensors near the bottom of the door tracks. If they’re misaligned or blocked, the opener will refuse to close the door. A single blinking light on the sensor unit usually confirms this.
- Lock mode. Many openers, including several LiftMaster and Craftsman models, have a wall-button lock feature that disables remote operation. If the wall button works but remotes don’t, check for a lock icon or button on the wall control panel.
Branch 2: The Door Moves Partially Then Stops or Reverses
A door that starts moving and then stops, reverses, or gets stuck halfway points to either a balance problem, a track obstruction, or a force-setting issue. Here’s the diagnostic sequence:
- Obstruction in the track. Run your hand along the vertical and horizontal tracks. Even a small pebble or a bent track section can stop a door mid-travel. Coastal Carlsbad homes with stucco exteriors sometimes shed small debris into the track channels.
- Spring imbalance. Disconnect the opener using the red emergency release handle (see the manual-release test below), then lift the door manually. A properly balanced door stays where you leave it at roughly waist height. If it drops, the torsion springs are worn and need replacement. If it shoots upward, the springs are over-tightened.
- Force settings. If the door moves fine manually but the opener still reverses, the opener’s force sensitivity may be set too low, or the door’s weight has changed slightly due to temperature shifts. Carlsbad’s mild climate means temperature swings are less extreme than inland, but even small changes in humidity can affect door weight on wooden doors.
Branch 3: The Door Moves But Sounds Wrong
This branch is covered in depth in the sounds section below, but the short version: unusual sounds during operation are diagnostic gold. Grinding points to the opener gear, popping to torsion springs, scraping to misaligned tracks or worn rollers, squealing to dry bearings, and banging to loose hardware. Each sound narrows the suspect list to one or two components.
Branch 4: The Door Operates But Doesn’t Seal or Sit Right
If the door opens and closes smoothly but leaves a gap at the bottom, sits unevenly, or doesn’t close flush against the frame, you’re dealing with a weather seal, track alignment, or door panel issue. Check the rubber bottom seal for cracks or flattening, look for daylight coming through the sides, and inspect whether the door sits level when closed. In Carlsbad, where coastal moisture and occasional heavy rain roll through, a failed bottom seal isn’t just cosmetic – it’s an invitation for water, debris, and pests.
The Manual-Release Test: Opener vs. Mechanical Failure
This is the single most useful diagnostic step a homeowner can perform, and most people have never heard of it. The manual-release test separates opener problems from door problems in under a minute. Here’s how it works:
- Close the door completely. Safety first: don’t perform this test with the door partially open.
- Locate the red emergency release cord. It hangs from the opener rail, usually near the front of the garage. On most openers – including LiftMaster, Chamberlain, and Genie models – it’s a short red handle connected to a rope.
- Pull the cord down and toward the door. You’ll feel the release mechanism disengage. The door is now free from the opener carriage.
- Lift the door manually by the handle or bottom edge. A healthy door lifts smoothly with moderate effort, stays open at waist height without support, and lowers without slamming.
Interpreting the results: If the door opens and closes smoothly by hand, the mechanical system – springs, cables, rollers, tracks – is functioning correctly, and your problem is in the opener. That means you’re looking at a garage door opener repair in Carlsbad, not a door repair. If the door feels heavy, won’t stay up, or binds while lifting manually, the problem is mechanical – most often worn torsion springs or a cable issue – and the opener isn’t the culprit.
One critical safety note: if the door feels extremely heavy or drops suddenly when you lift it, the torsion springs are likely broken or fully worn out. Do not attempt to fix springs yourself. The tension stored in a torsion spring can release violently and cause serious injury. Lower the door gently if you can, leave it closed, and call a professional. In Carlsbad, we see spring failures regularly in older track-home developments where doors have seen fifteen to twenty years of daily cycles.
The Five Sounds a Garage Door Makes (And What Each One Means)
Sound is the most underused diagnostic tool in garage door troubleshooting. Here are the five sounds we hear most often in our service area, what each one points to, and whether it’s a monitor-it situation or a stop-using-the-door situation.
1. Grinding
Grinding during operation almost always comes from the opener, not the door itself. On chain-drive openers, a worn drive gear inside the motor housing produces a metal-on-metal grinding sound that gets louder over weeks. On belt-drive models, grinding can indicate a failing belt tensioner. Some LiftMaster and Craftsman models use plastic drive gears that strip over time – when they fail, the motor runs but the chain doesn’t move, producing a characteristic grinding-whirring sound. Action: if you hear grinding, stop using the opener and schedule service. Continued use can damage the motor.
2. Popping
Popping sounds during door movement come from the torsion springs. On a healthy door, springs wind and unwind smoothly. When coils begin to bind, stick, or develop micro-fractures, they release with an audible pop. This is an early warning sign that a spring is nearing failure. Action: a spring that’s popping is a spring that’s losing its temper. It may work for weeks or fail tomorrow. Given that torsion springs are under extreme tension and their sudden failure can cause the door to crash down, treat popping springs as a stop-using-the-door situation.
3. Scraping
Scraping or chafing sounds are mechanical, not opener-related. Common causes include a worn Roller with flat spots dragging along the track, a track that’s come out of alignment and is catching the roller edge, or a hinge that’s loose and contacting the door panel. In Carlsbad’s coastal air, we also see light corrosion on steel tracks and rollers in garages that aren’t climate-controlled, which creates a rough surface that scrapes. Action: you can inspect visually for obvious track misalignment or loose hinges, but don’t attempt track bending or roller replacement yourself – anything connected to the bottom roller is under cable tension.
4. Squealing
Squealing is a lubrication problem or a bearing problem. Dry rollers, dry hinges, or a dry opener belt can all squeal. Rays of the sun and coastal salt air in Carlsbad accelerate lubricant breakdown. Action: a silicone-based garage door lubricant applied to hinges, roller bearings, and the spring coils can quiet the squeal. But if the squeal persists after lubrication, you’re likely dealing with a failing sealed bearing inside a roller – that’s a replacement job, not an oil job.
5. Banging
A banging sound during operation usually means something is loose. Loose bolts on the opener rail, a loose chain slapping the rail, or a door panel that’s worked free of its hinges can all produce banging. Action: a single loose bolt is a five-minute fix. Banging that persists after tightening visible hardware suggests a structural issue – a cracked panel, a failing bracket, or a rail that’s pulling away from the ceiling. That’s a professional call.
Symptoms You Can Monitor vs. Symptoms That Require Stopping Use
Not every strange garage door behavior demands an immediate service call, but some absolutely do. Knowing which is which protects both your safety and your wallet.
Safe to Monitor (For Now)
- Mild squealing that responds to lubrication. If a shot of silicone lube quiets the squeal and the door operates smoothly, keep an eye on it and call when the sound returns.
- A remote that works intermittently. Test with fresh batteries and from different distances. If the wall button works consistently, the issue is likely remote or receiver-related, not door-related.
- Slight unevenness in the bottom seal. A door that sits 1/8 inch off-level isn’t an emergency. Measure it, note when you first noticed it, and have it checked at your next regular maintenance visit.
- Slow operation. A door that opens noticeably slower than it used to may indicate age or belt wear, not imminent failure. Time it: if it takes more than 15 seconds to fully open, it’s worth a phone call.
Stop Using the Door Immediately
- Any popping sound from the springs. A popping spring is a spring about to fail. When a torsion spring lets go, the door can slam down with hundreds of pounds of force.
- A visible gap or separation in a torsion spring. You can spot this from a few feet away with the door closed. A two-inch gap in the coil means the spring is broken.
- The door drops, slams, or jerks when closing. This indicates cable, spring, or balance failure. The door is a falling hazard in this state.
- Fraying or loose cables. The cables running along the sides of the door are under high tension. If you see loose strands or sagging cable, do not operate the door.
- The door reverses and the safety sensors are clean and aligned. If the door reverses mid-close and you’ve confirmed the sensors are fine, you may have a force-setting issue that’s letting the door close too hard. This is a safety feature malfunctioning, not just an inconvenience.
How to Document a Problem Before Calling a Technician
The difference between a $120 repair and a $400 repair often comes down to how well you describe the problem over the phone. Here’s a documentation sequence we recommend to every homeowner in Carlsbad who calls us:
- Record a video. Take a 10-second video of the door operating (or failing to operate) from both inside and outside the garage. Capture the sound. This single step eliminates most ambiguity and lets a technician form an accurate hypothesis before dispatch.
- Note the timing. Does the problem happen every cycle, only first thing in the morning, only after the door has been sitting open, only in humid weather? Pattern timing suggests specific causes. A door that only stalls in the early morning may have a cold-weather sensitivity; a door that only grinds after rain may have a moisture-related electrical issue.
- Write down the sound. Use the five-sounds list above to name what you’re hearing. “Grinding” and “squealing” are different problems with different prices. Saying “it makes a noise” is how you end up with a tech replacing three parts.
- Check the basics before calling. Test the wall button, replace remote batteries, verify the opener is plugged in and the GFCI outlet isn’t tripped, confirm the safety sensors are clean and aligned, and note whether the red emergency release cord is engaged or disengaged.
- Know your brand and approximate door age. Tell the technician what opener and door you have. A Craftsman opener from 2010 has different common failures than a LiftMaster from 2019. If you don’t know the model, check for a label on the opener motor housing or on the edge of the door itself.
When you call, describe the problem in this format: “I hear [sound] coming from [area] when the door [opens/closes/lifts manually]. It [always/sometimes] happens. The wall button [works/doesn’t work]. I’ve already checked [batteries, sensors, outlet].” That’s a two-minute description that gives a technician 90% of what they need to quote accurately over the phone.
What Changes by Brand: Wayne Dalton, Craftsman, LiftMaster, and Raynor
One of the reasons we service eight major garage door brands at Tradewind is that each manufacturer has its own failure patterns. Knowing your brand helps narrow the diagnostic field. Here’s what we see most often from a few of the most common names in Carlsbad garages:
Wayne Dalton
Wayne Dalton doors are popular in Carlsbad’s newer developments, particularly in the Bressi Ranch and La Costa Valley areas. The brand’s signature TorqueMaster spring system sits inside a tube rather than exposed on a shaft above the door. When TorqueMaster springs fail, you won’t see a visible gap like you would on a traditional torsion system – you’ll hear popping sounds from inside the tube and notice the door becoming heavy to lift manually. This design requires a specific replacement procedure, so be sure the technician you call has Wayne Dalton experience before they arrive. A brand-agnostic shop that works on whatever’s already installed will know the difference.
Craftsman
Craftsman openers from the 1990s through the 2010s are everywhere in older Carlsbad neighborhoods like Calavera Hills and the Rancho Carlsbad area. The most common Craftsman failure we see is the drive gear – a plastic cog inside the motor housing that strips over time. The symptom is a motor that runs but a chain or belt that doesn’t move, accompanied by a grinding sound. The fix is a gear replacement, not a whole new opener. Some Craftsman models also develop logic board failures after 15-plus years, and at that age, the question becomes repair versus replacement. A competent technician should give you a straight answer about that threshold, not a scripted pitch for a new unit.
LiftMaster
LiftMaster is the most-installed opener brand in the country, and Carlsbad is no exception. Modern LiftMaster models with DC motors are quieter and more reliable than older units, but they’re also more sensitive to electrical anomalies. A power surge through a coastal storm front can corrupt the opener’s travel limits or erase the memory settings. If your LiftMaster opens but won’t close, or closes but immediately reverses, try clearing and resetting the travel limits using the buttons on the motor housing. If the opener still misbehaves, the logic board may need replacement – a repair we perform regularly without pushing a full unit swap.
Raynor
Raynor doors are less common in Carlsbad than Clopay or Amarr, but they’re out there – particularly in custom homes around Aviara and La Costa. Raynor’s commercial-grade residential doors have heavier gauge steel and stronger springs than entry-level doors. That’s good news for longevity, but it means spring failures on Raynor doors are more dangerous when they do happen – the stored energy is higher. The same is true for older Raynor doors with extension spring systems, which you’ll recognize by the long springs stretching alongside the horizontal tracks. If you have a Raynor with an extension spring system and the spring fails, stay clear of the door and call a professional. Extension springs can become projectiles when they snap.
How Carlsbad’s Climate and Housing Stock Affect Garage Door Problems
Garage doors in Carlsbad deal with a specific set of environmental conditions, and understanding them helps you anticipate problems before they surface.
Coastal moisture and salt air. Homes within two or three miles of the coast – think the neighborhoods around Carlsbad Village, Terramar, and the beach communities – experience elevated humidity and salt concentrations compared with other parts of San Diego County. That means faster oxidation on untreated steel components. Tracks, rollers, and hinge pins corrode more quickly in coastal Carlsbad garages than they do five miles inland. The practical takeaway: if you live within sight of the water, lubrication and visual inspections should happen more frequently, not less. A roller that would last 15 years in Bressi Ranch might last 10 in Terramar.
Temperature swings and wooden doors. Carlsbad’s climate is famously mild, but we still see seasonal temperature and humidity variation that affects wooden garage doors. Solid wood doors absorb moisture during winter rains and release it during dry summer months, which causes subtle dimensional changes. A wooden door that binds in January but works fine in August isn’t broken – it’s swelling. The fix is usually track adjustment rather than door replacement, but the diagnosis matters. A less experienced shop might recommend a new door when the existing one just needs clearance adjustments.
Older housing stock. Carlsbad has a significant inventory of homes built in the 1970s through the 1990s, particularly south of Highway 78 and in the older sections of Carlsbad Village. Doors from that era were often installed with extension spring systems or early-model torsion setups that are now at or beyond their design life. If your home falls in that age range and the garage door is original, you’re driving on borrowed time – not in a dramatic sense, but in the sense that a proactive spring replacement is cheaper than an emergency repair at 6:00 a.m. on a Monday.
Track-home consistency. Many Carlsbad neighborhoods feature tract developments where every third house has the same door from the same builder. That consistency creates predictable failure patterns. We see clusters of similar repairs emerge in specific communities as those original doors age out at similar rates. When we say “we’ve seen this before,” it’s because we have – often in a house with the same floor plan three streets over. That pattern recognition is one of the quiet advantages of working with a shop that’s deeply familiar with the Tradewind Garage Door Repair home service territory.
Common Mistakes to Avoid
- Oiling a grinding opener. Grinding is metal-on-metal contact inside the motor housing, not a lubrication problem. Adding oil does nothing except create a mess and delay the repair. If your Craftsman or LiftMaster opener grinds, the drive gear is failing, not drying out.
- Adjusting the springs yourself. Torsion springs are under hundreds of pounds of stored tension. The tools sold for spring “repair” at hardware stores create a false sense of safety. A single wrong move with a winding bar can cause catastrophic injury. This is the one DIY task we tell every Carlsbad homeowner to never attempt.
- Replacing the opener before testing the door manually. We’ve seen homeowners replace a perfectly good opener because the door wouldn’t move, when the real problem was a broken spring or a jammed roller. The manual-release test takes 60 seconds and could save you $300 or more.
- Ignoring popping sounds until the spring fails. Popping springs are communicating with you. The replacement cost of a torsion spring is the same whether you catch it early or wait for the break – but catching it early means you choose the appointment time instead of being stuck with a garage you can’t open.
- Forcing the door open with a broken spring. When a spring fails, the door becomes a dead weight – sometimes 150 to 300 pounds. Using the opener to force it, or getting a neighbor to help you muscle it open, risks damage to the opener, the panels, and your back. Wait for a professional.
- Not checking the obvious things before calling. Dead remote batteries, a tripped GFCI outlet, a locked wall button – these are the calls that cost a homeowner a trip charge for something they could have fixed in 30 seconds. Run through the Branch 1 checklist before you pick up the phone.
- Describing the problem as “it’s broken.” Saying “it’s broken” gives a technician no diagnostic information and forces them to arrive cold. A 30-second video and a three-sentence description – sound, timing, what you’ve already checked – saves you money and saves the tech time.
When to Call a Professional
Some garage door problems are safe to monitor, and some are DIY-friendly – but a meaningful list of them are not. Call a professional if you hear popping from the springs, see a visible gap in a torsion spring, notice fraying or loose cables, experience a door that slams or drops when closing, or hear grinding from inside the opener. These conditions involve components under high tension or systems that protect the door from free-falling, and the margin for error is measured in inches and milliseconds. Tradewind Garage Door Repair offers free estimates in Carlsbad – call (833) 476-2475 and describe what you’re hearing, seeing, and noticing. We’ll give you a straight answer about whether it’s a monitor-it situation or a repair-you-should-schedule-today situation. If you’re considering whether to repair or replace, our team can help with garage door installation in Carlsbad as well – with no pressure toward a new door unless the numbers actually make sense.
Frequently Asked Questions
Most garage door repairs in Carlsbad fall between $120 and $450 depending on the component. A spring replacement typically runs $180 to $340, a cable repair $150 to $250, an opener gear replacement $120 to $200, and a full opener replacement $300 to $700 installed. A sensor realignment might cost $75 to $125. These are Carlsbad market ranges based on current local labor rates and parts availability – call (833) 476-2475 with a description of your symptoms and we’ll give you an honest price range before we schedule.
For most mechanical repairs – springs, cables, rollers, openers – we can often dispatch same-day or next-day in Carlsbad, depending on the time of day you call and our current schedule. If you call in the morning and can describe the problem accurately, there’s a good chance we can get a technician to you that afternoon. Emergency spring failures are a priority because a broken spring means a door you can’t safely open.
No. At Tradewind, we quote a firm price before any work begins, and that price is the price. The only circumstance where a quote changes is if the technician discovers a second, separate problem you didn’t know about – and even then, we stop and call you with an updated number before touching anything. What we won’t do is give you a lowball phone estimate and then inflate it in person.
If your door or opener is made by LiftMaster, Chamberlain, Genie, Clopay, Amarr, Wayne Dalton, Craftsman, or Raynor, the answer is yes. We’re a multi-brand shop, which means we diagnose and repair what you already have rather than steering you toward a brand we happen to sell. For any of those eight brands, a Garage Door Repair in Carlsbad appointment starts with the equipment on your garage, not a product catalog.
Here’s the straight math: if the repair cost is under half the price of a new door and the existing door has no structural damage – no cracked panels, no compromised frame, no severe rust – repair is usually the right call. A new garage door in Carlsbad starts around $1,200 installed and climbs from there, so a two-spring replacement at $340 is almost always the smarter financial decision. The exception is when a door is 20-plus years old and already showing multiple simultaneous problems – at that point, replacement may cost less than piecemeal repairs over the next few years.
Timing-sensitive garage door problems usually point to environmental factors. A door that only sticks in the morning in Carlsbad’s cooler months may have components that contract slightly overnight, causing tight spots in the track. A door that only malfunctions during or after rain likely has moisture-related electrical issues – often at the safety sensors or the opener’s connection points. Documenting the exact timing and weather conditions before you call helps a technician diagnose the root cause instead of replacing parts that weren’t the problem.
The Bottom Line
Garage door troubleshooting isn’t about fixing things yourself – it’s about knowing enough to describe the problem accurately, avoid being oversold, and recognize which situations demand an immediate service call. The decision-tree framework, the manual-release test, the five-sounds guide, and the documentation checklist in this guide will get you from “something’s wrong” to “here’s what I think it is” in about ten minutes. And when you do make the call, you’ll be arriving at the conversation informed – which is the single best protection against unnecessary parts and inflated invoices. That’s the approach we take at Tradewind Garage Door Repair home every day: repair first, replace only when it makes sense, and work on what you already have. Eight brands, one call.
Written by the team at Tradewind Garage Door Repair, serving Carlsbad since 2015.
See the difference
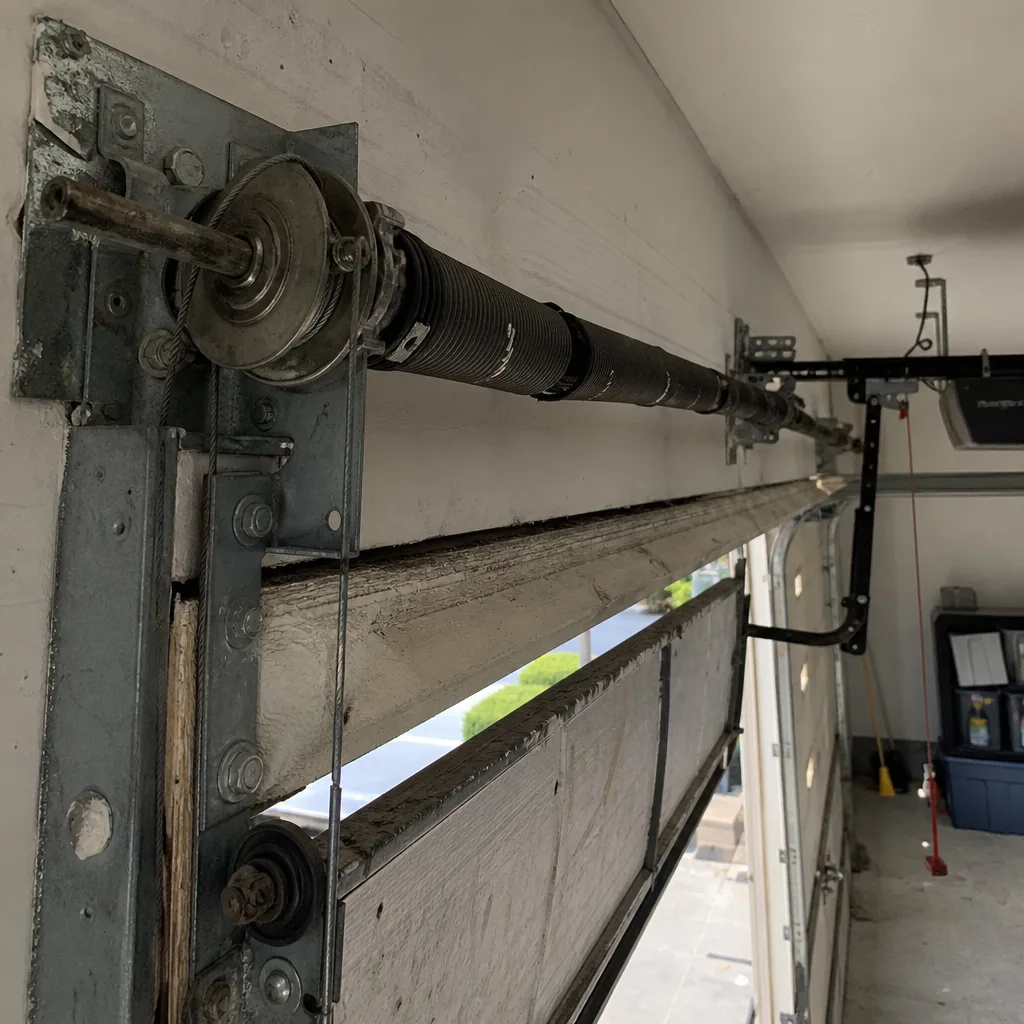 Before
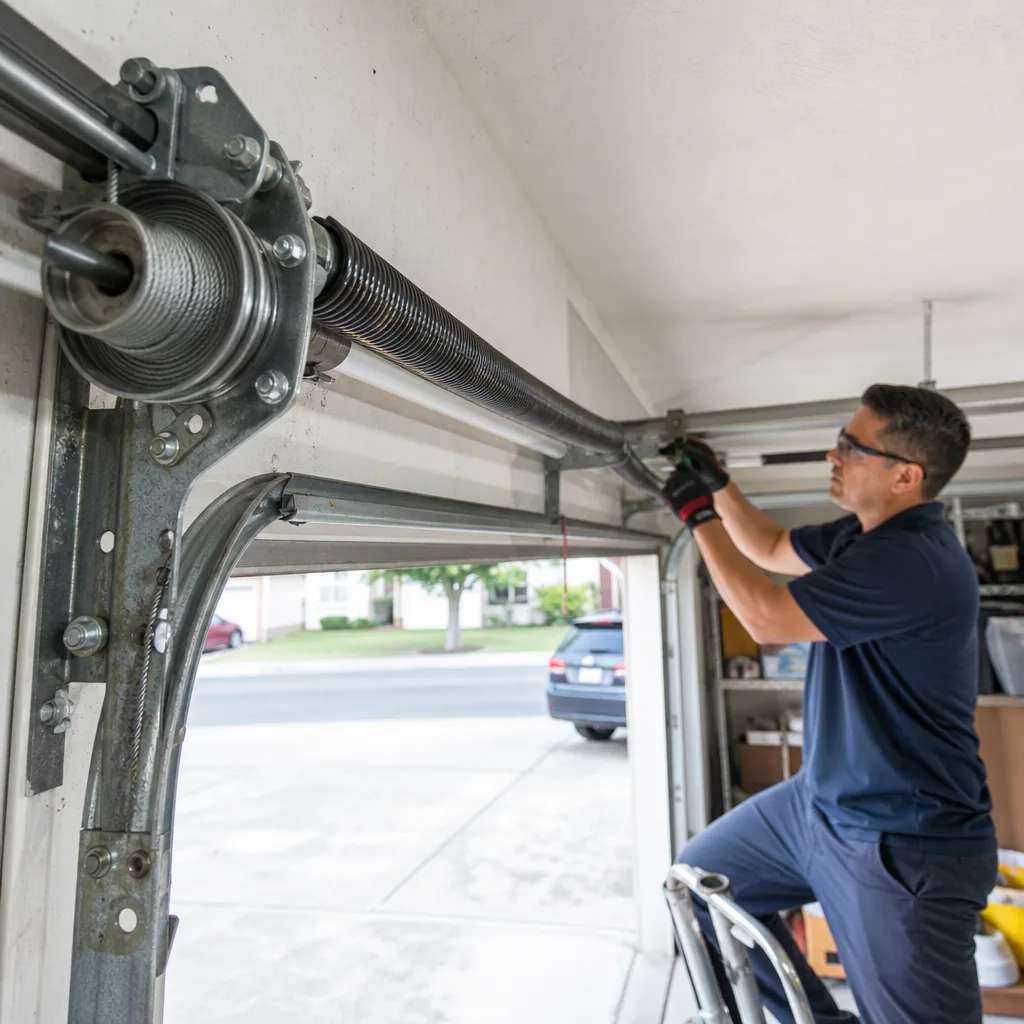 After
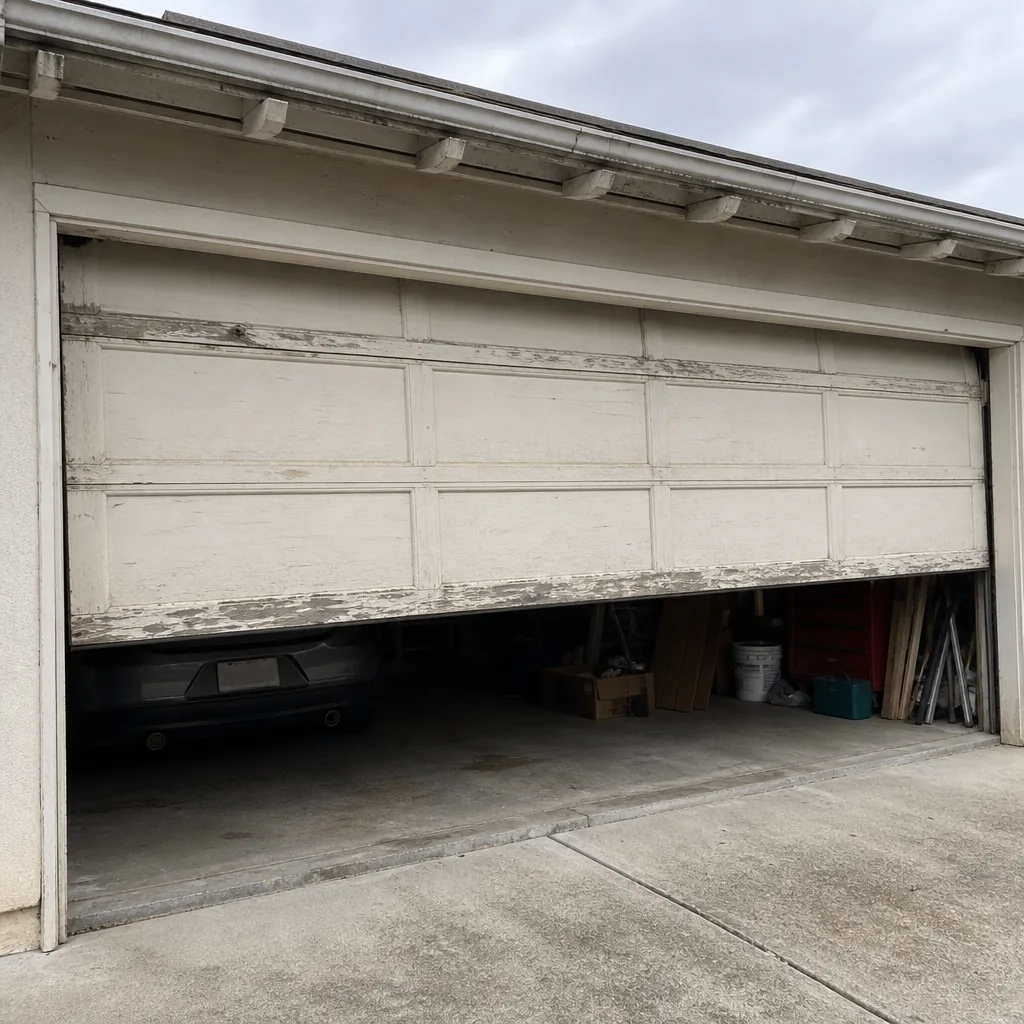 Before
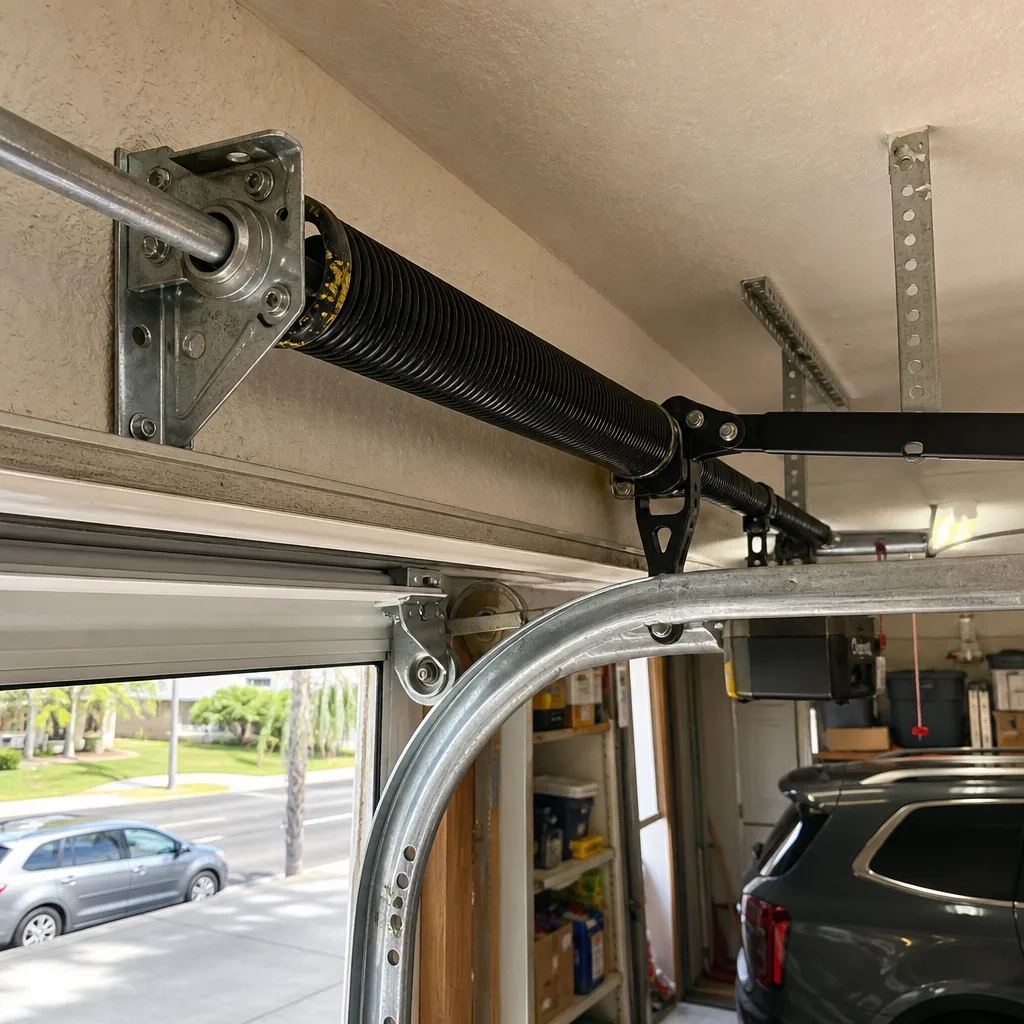 After
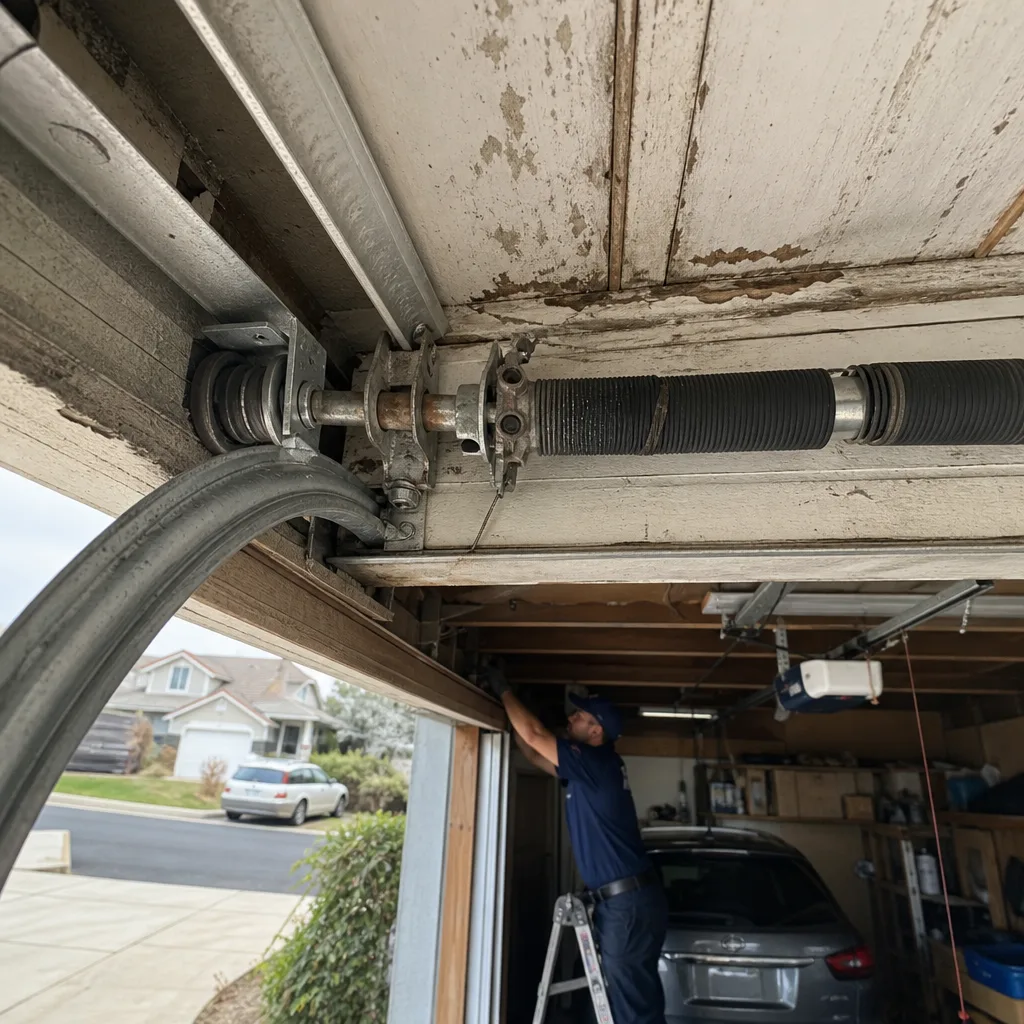 Before
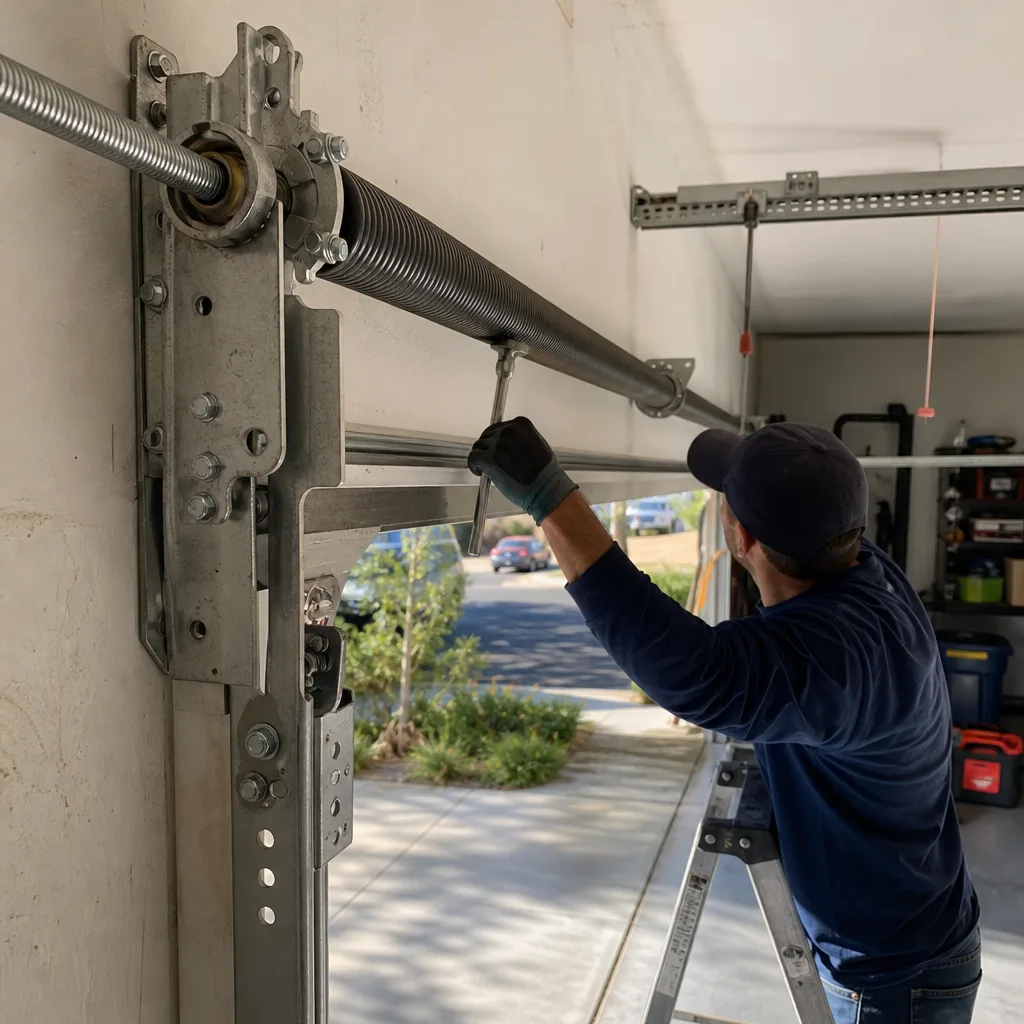 After